
Who doesn’t love bugs? As adults, we’ve often fallen out of love with them – but look closely and you’ll be reminded just how fascinating they are!
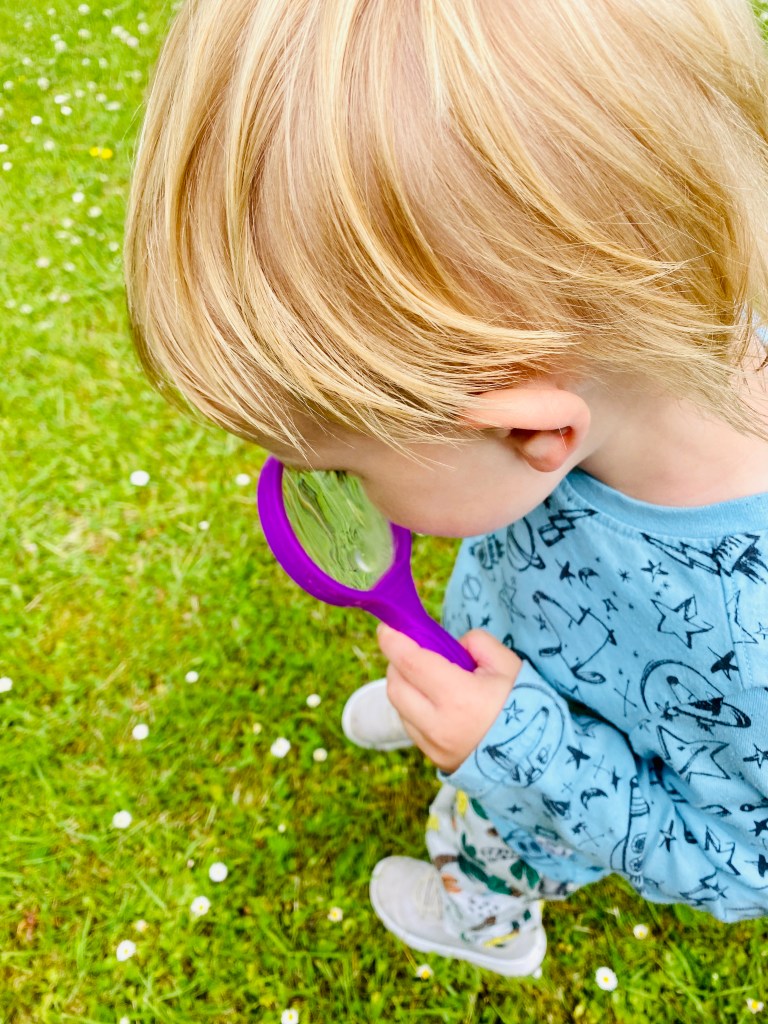
This week covers some outside hunts – so grab some wellies and a magnifying glass and get set on an adventure! You could try going somewhere new and unexplored – be interpid explorers! Or simply slowing down and taking a closer look closer to home. What bugs have you been walking past every day without even realising it?
Wherever you end up and whatever you find, we hope you love this topic!
Bug Facts
- It is estimated there are 9 million species of insects on Earth
- Insects do not breathe through their mouths (they breathe through holes in their exoskeleton)
- The total weight of all the ants in the world is equal to the weight of all the humans in the world
- A bee’s wings beat 190 times a second, that’s 11,400 times a minute.
- Dragonflies have been on earth for 300 million years!
- Fruit flies were the first living creatures to be sent into space.
- A single honeybee colony can produce around 220 jars-worth of honey each year
- Mosquitos are attracted to smelly feet!
- Butterflies taste with their feet.
- The red postman butterfly develops its own poison by eating toxic plants!
- A ladybird might eat more than 5,000 insects in its lifetime
- Male giraffe weevils use their long necks to fight each other.
- The largest insect currently alive is Chan’s megastick which measures 66cm
- Termite queens can produce 7,000 eggs a day
- Scorpions can live up to 25 years
- Some spiders can see light that humans can’t (UVA & UVB)
- Cockroaches can live for about a week without their head
Bug Videos
Activity 1
We’re Going On A Bug Hunt
You will need:
- Magnifying glass
- We’re Going On A Bear Hunt book (optional)

We absolutely love the Michael Rosen book ‘We’re Going On A Bear Hunt‘ – you could re-read the story or have a listen to it. We then decided to re-invent the story – but for bugs instead! This is how we edited it:
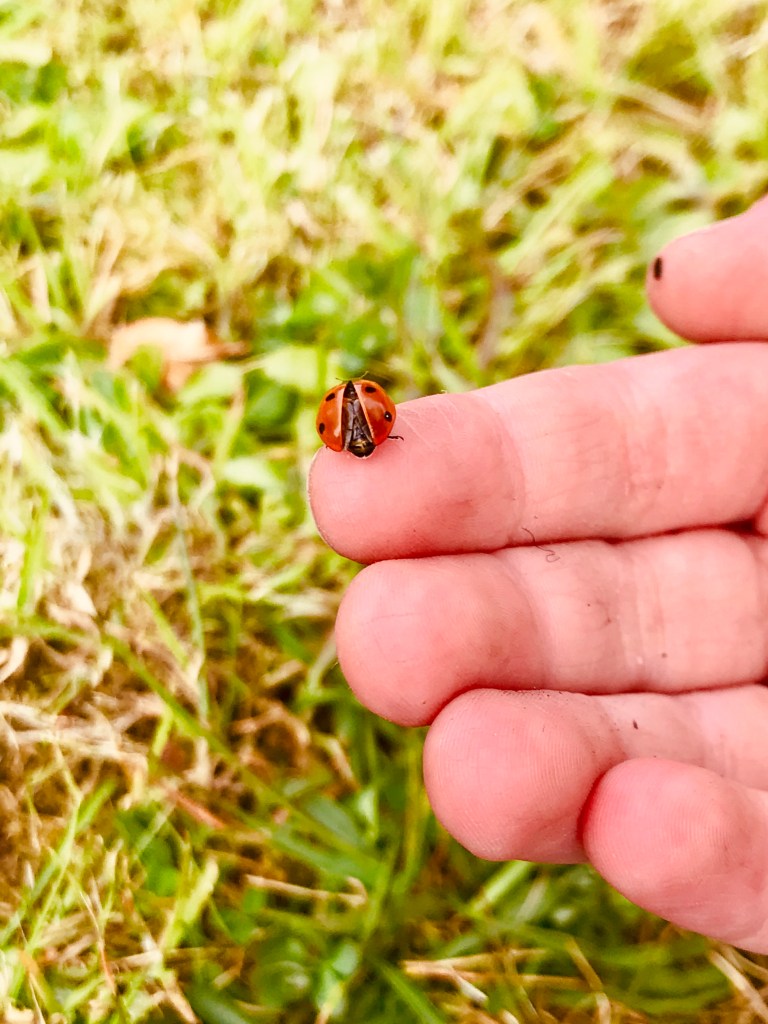
We’re going on a bug hunt, we’re going to find a big one, what a beautiful day, we’re not scared. Oh look! A ladybird. A red, spotty ladybird. We can’t go over it, we can’t go under it, let’s have a look at it! Red & Spotty, red & spotty, red & spotty.
For other insects we used words like; fluttery, scuttely, black, brown, strong, delicate, fuzzy.
What adjectives could you use to describe the bugs you find?


Activity 2
Build a Bug Hotel
You will need:
- Box/plant pot
- Sticks/twigs
- Bamboo
- Leaves

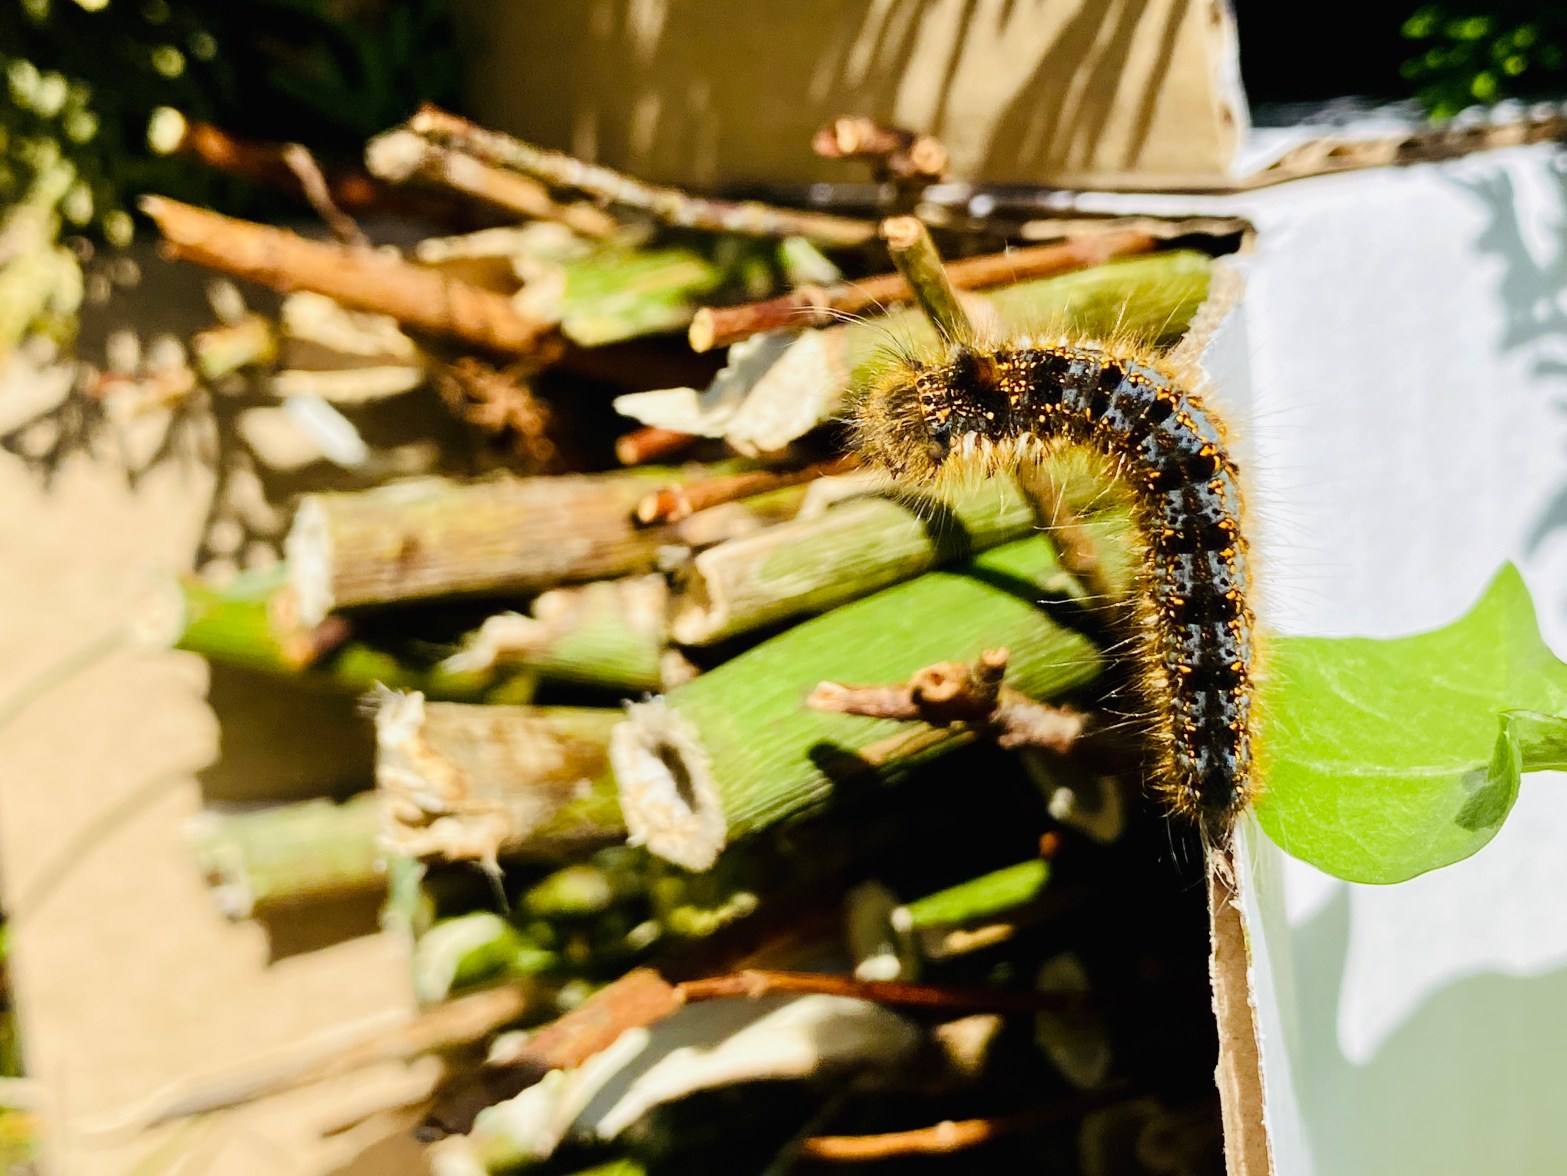
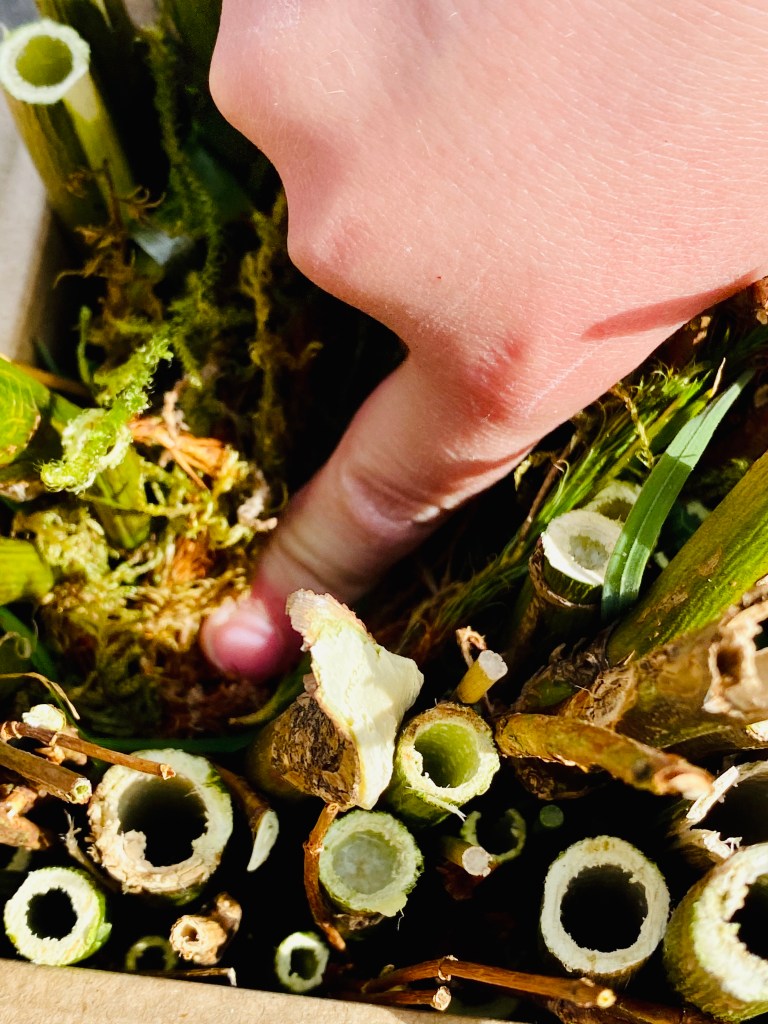
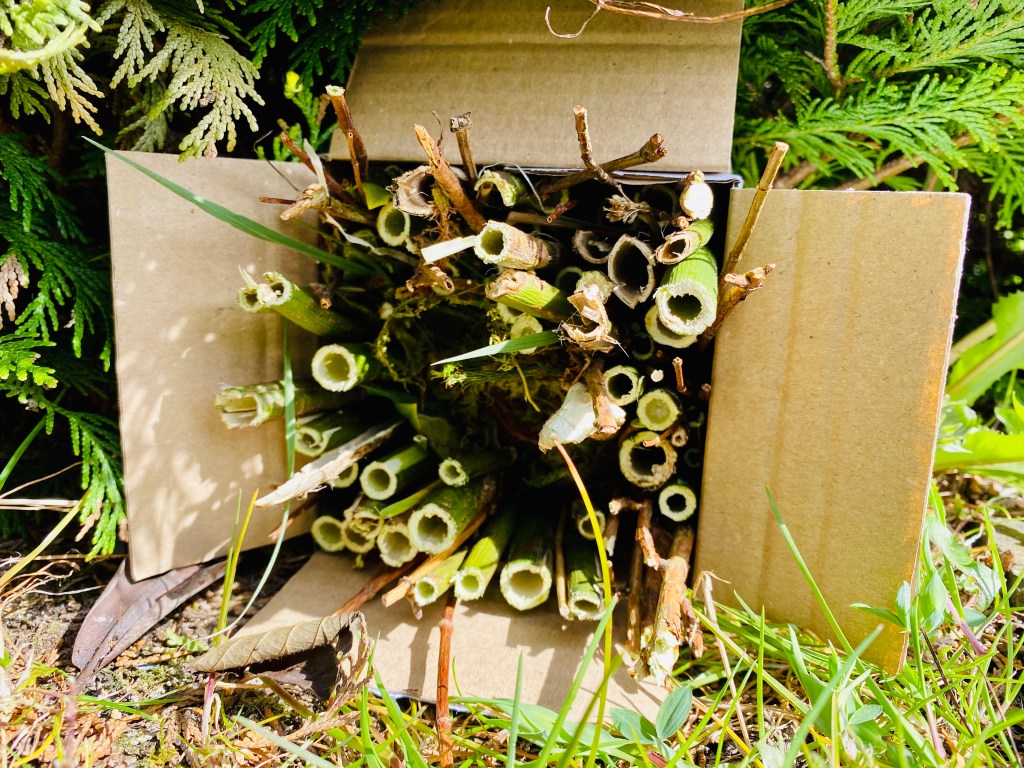
Bug hotels are becoming very popular and there are a plethora of creative ways to make fabulous (and long-lasting) structures. For this activity however, having been isnpired by the recycling challenge last week we decided to use a box we received in the mail plus some garden waste whilst clearing an overgrown section of the garden. Fortunately that contained bamboo which is a fabulous material to use in bug hotels.
You can use absolutely ANYTHING to make a bug hotel – two logs with nooks and crannies would work brilliantly too. The key is to involve the kids in the planning and get them caring about the living world around them – bugs and all!
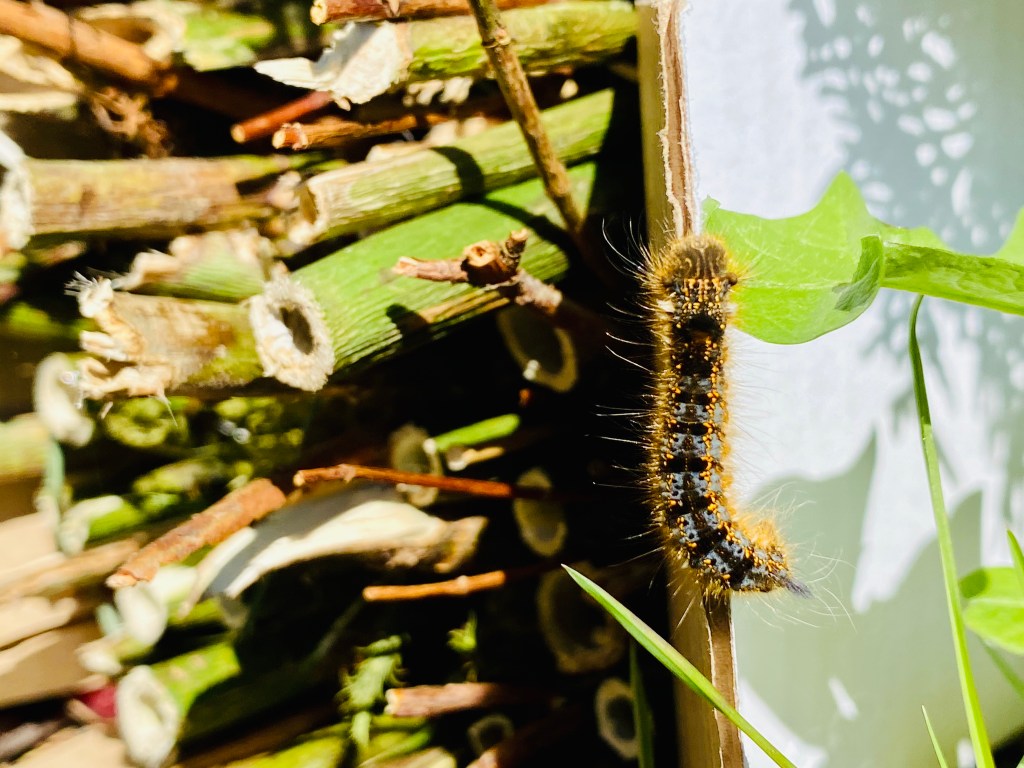
One of the best ways to make an effective bug hotel is to stuff the space full of different textures and spaces and sizes – bugs like little spaces so use different materials to create interesting spaces for them and I’m sure your hotel will be full in no time!
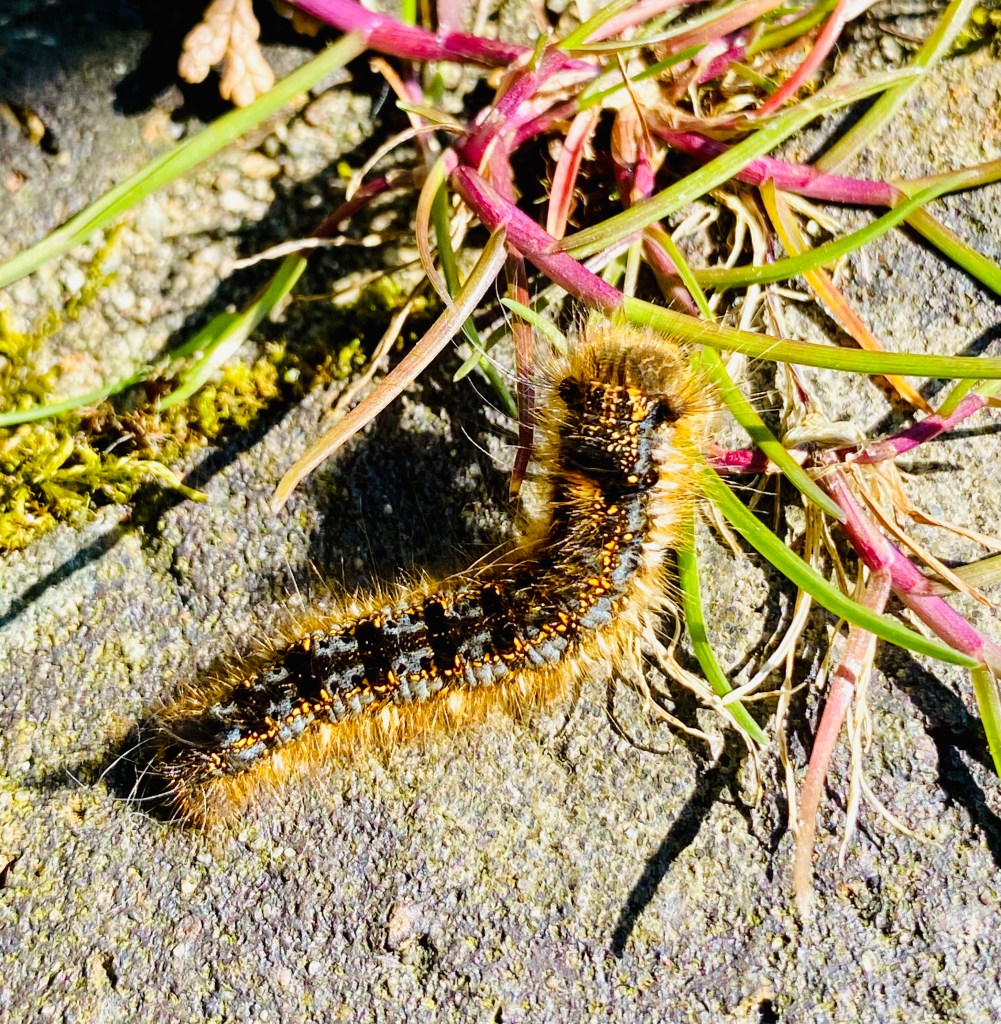
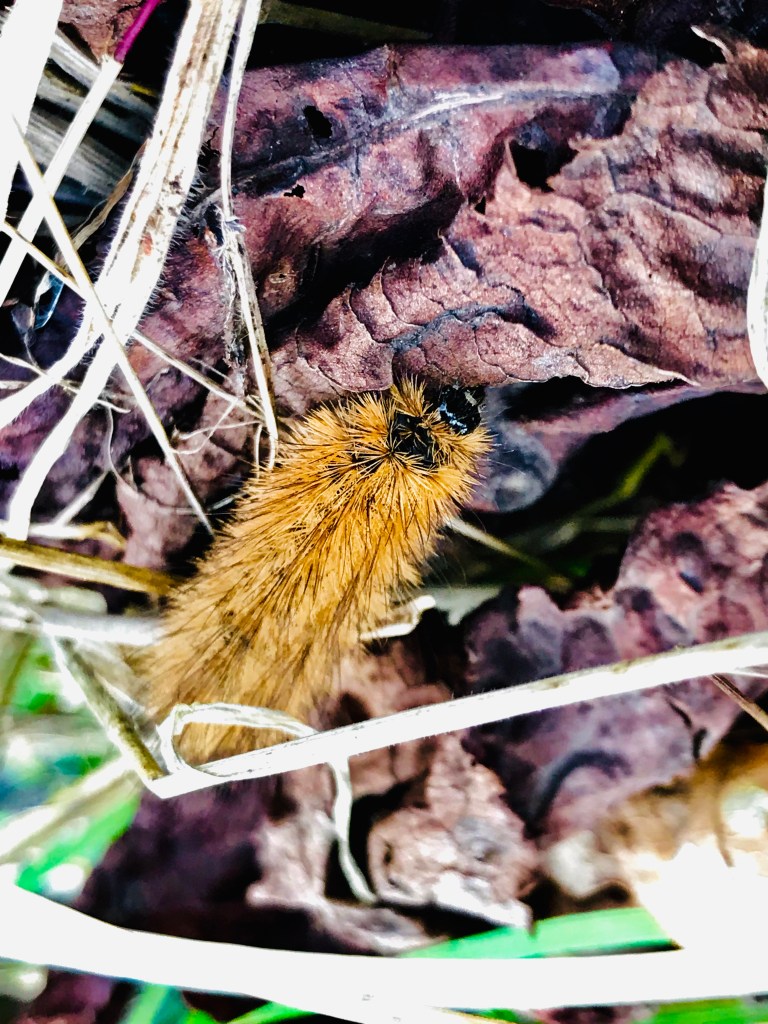
Within minutes of putting ours out this little caterpillar wandered along to inspect it!


Activity 3
Build a Bug
You will need:
- Dice
- Measuring tape
- Playdoh
- Pipe cleaners
- Beads
- Googly eyes
- Paper
- Build a Bug printout (see below)

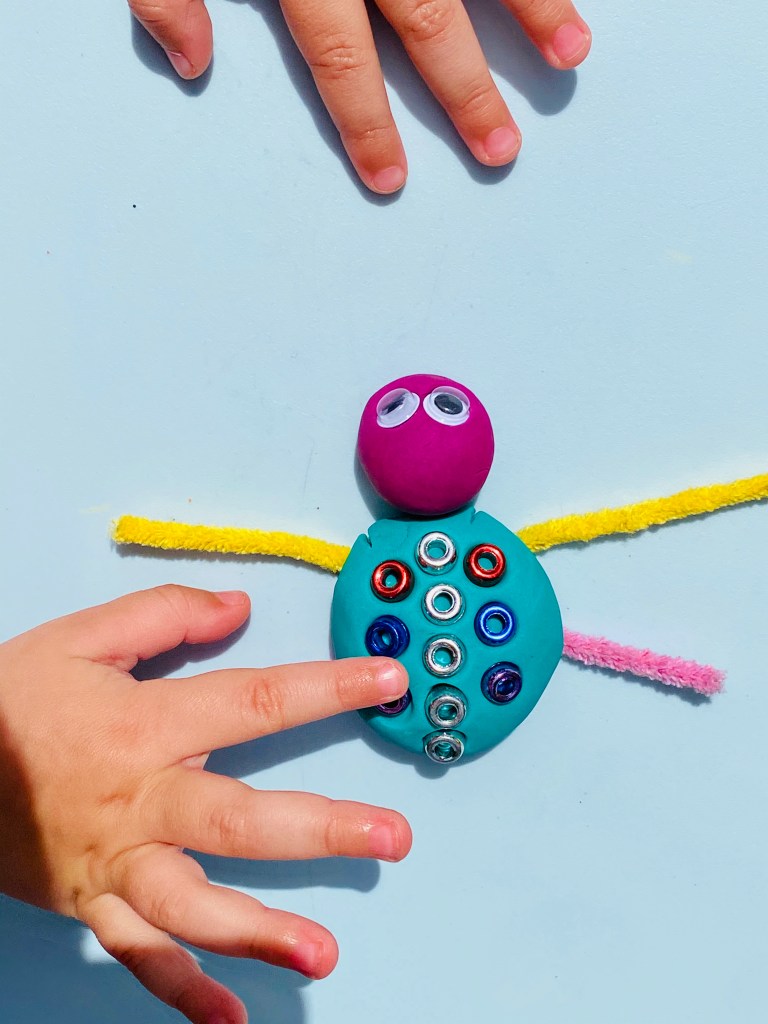
Practise your dice recognition and measuring skills in this fun bug creation game! Have a watch of the videos above and then have some fun creating your own bugs.
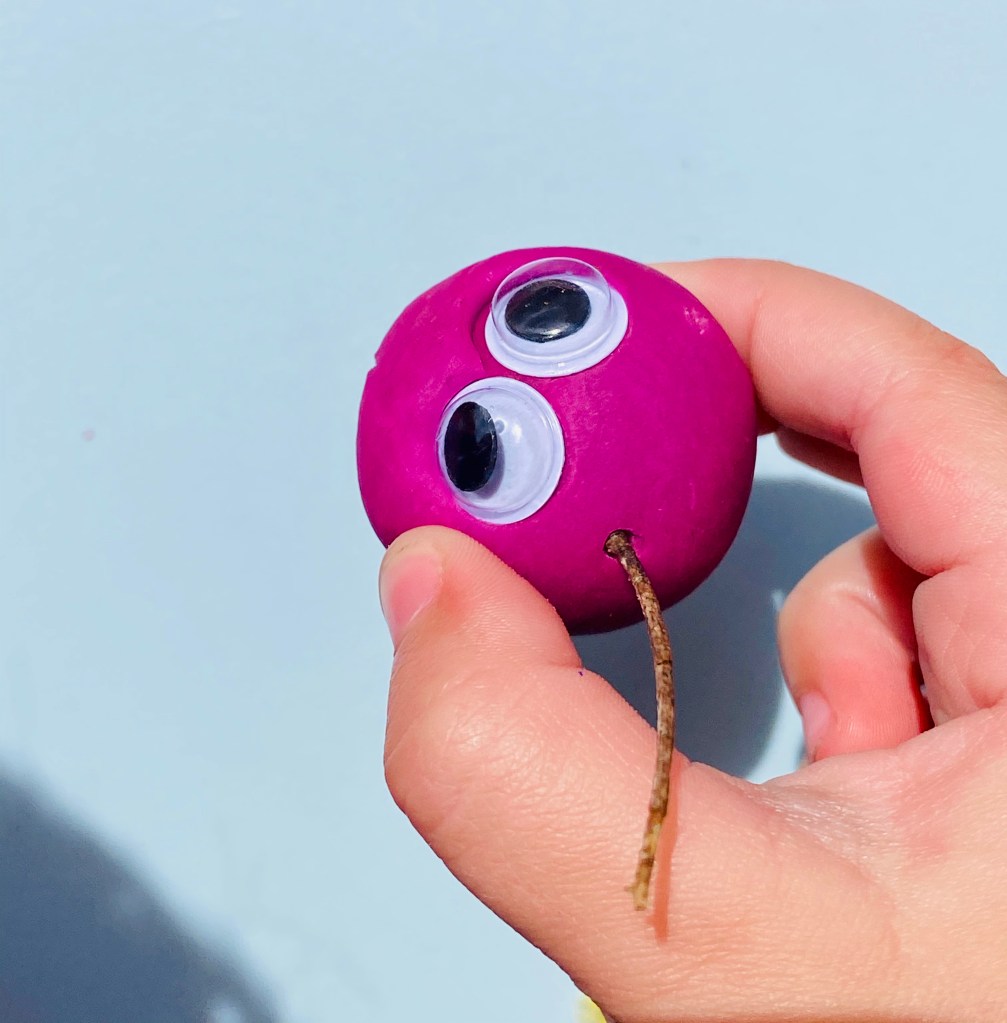
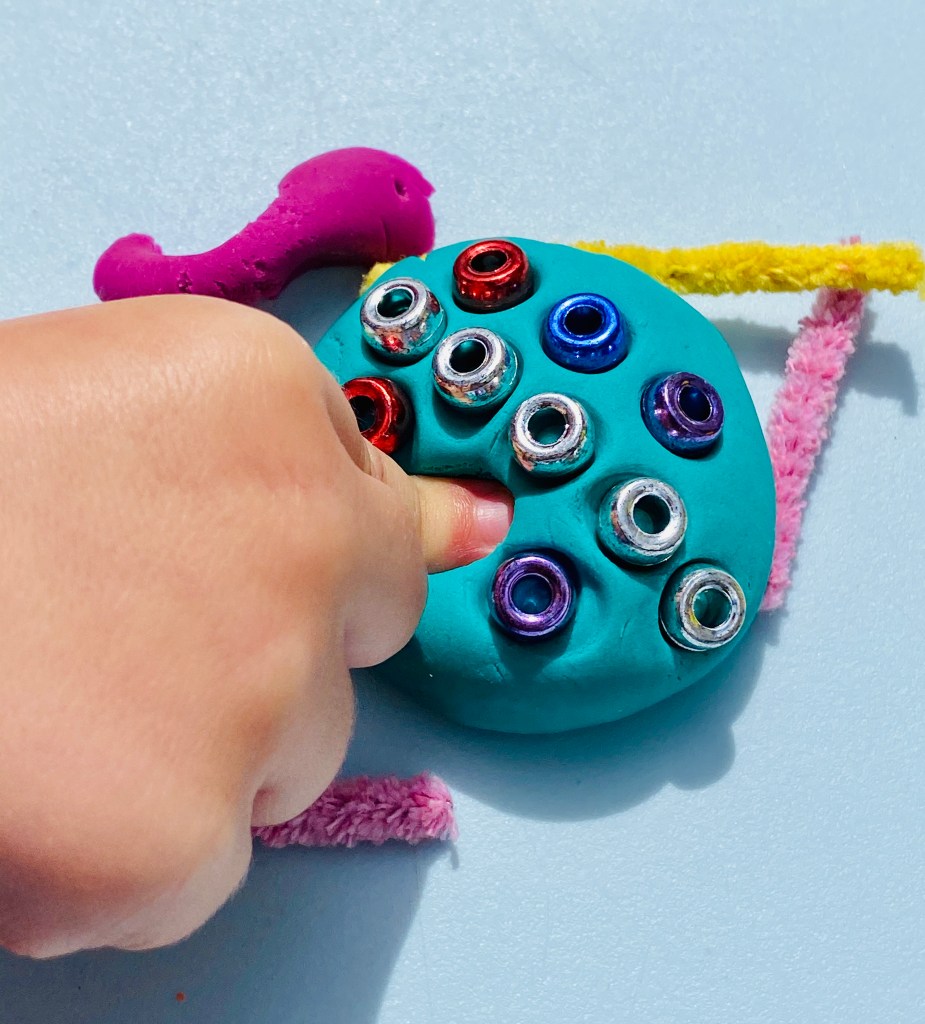
My youngest enjoyed making a bug with me whilst we discussed body parts, colour, pattern & symmetry (see the beads in the picture below). It’s also a great sensory activity for really young learners (we loved pushing beads deep into the playdoh and then getting them back out again which develops the strength of little fingers).
My eldest enjoyed designing his bug by rolling the dice to fill in the blanks on the Build A Bug sheet (see PDF download above) and then created a bug to the specification that he’d created. We decided to draw the wings today, but you could also use leaves (especially skeleton ones for a beautiful wing effect!).
We laminated our card so that we could create several different bugs – if you don’t have a laminator you could pop it in a polypocket or even cover it in strips of sellotape. Remember to share your creations on our Facebook page – we love seeing everything you’ve been up to!


Activity 4
Spider Web
You will need:
- 3 sticks
- String
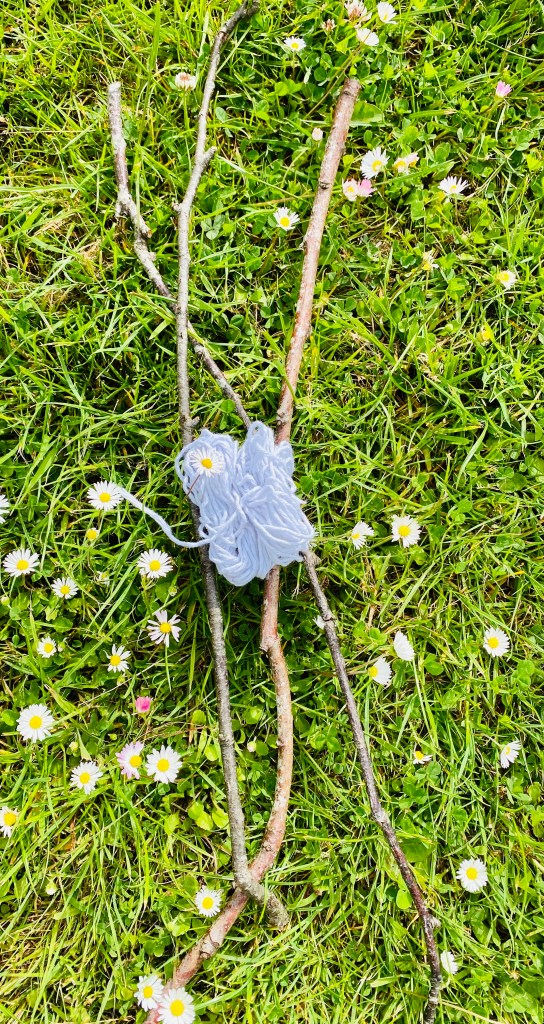
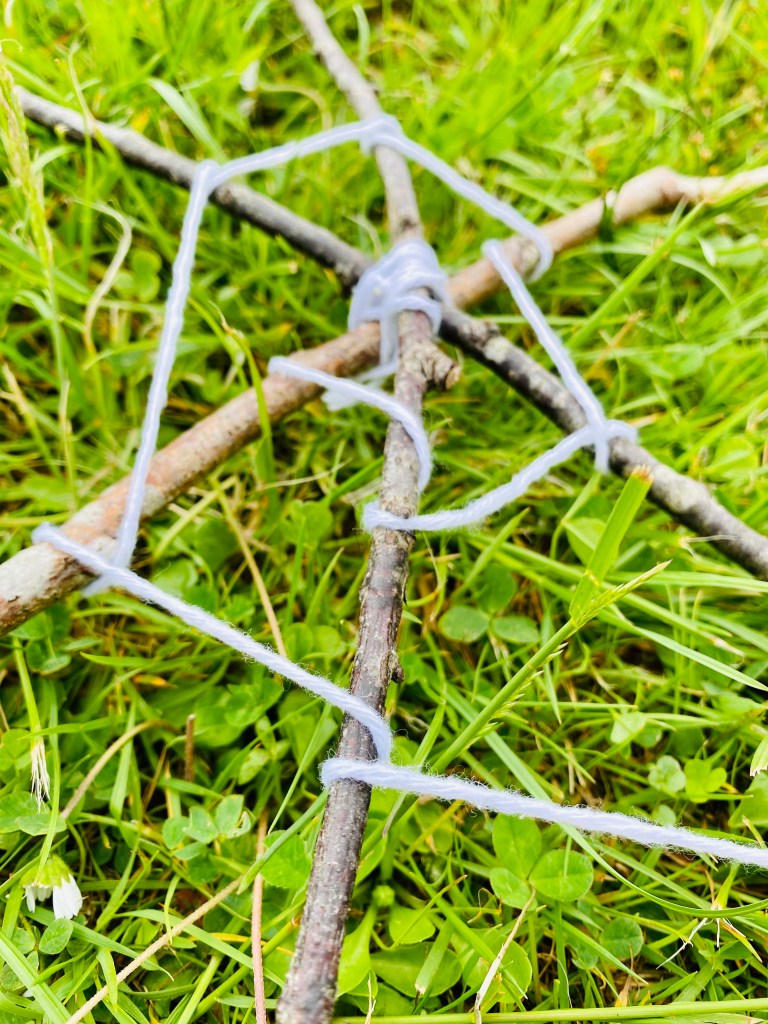
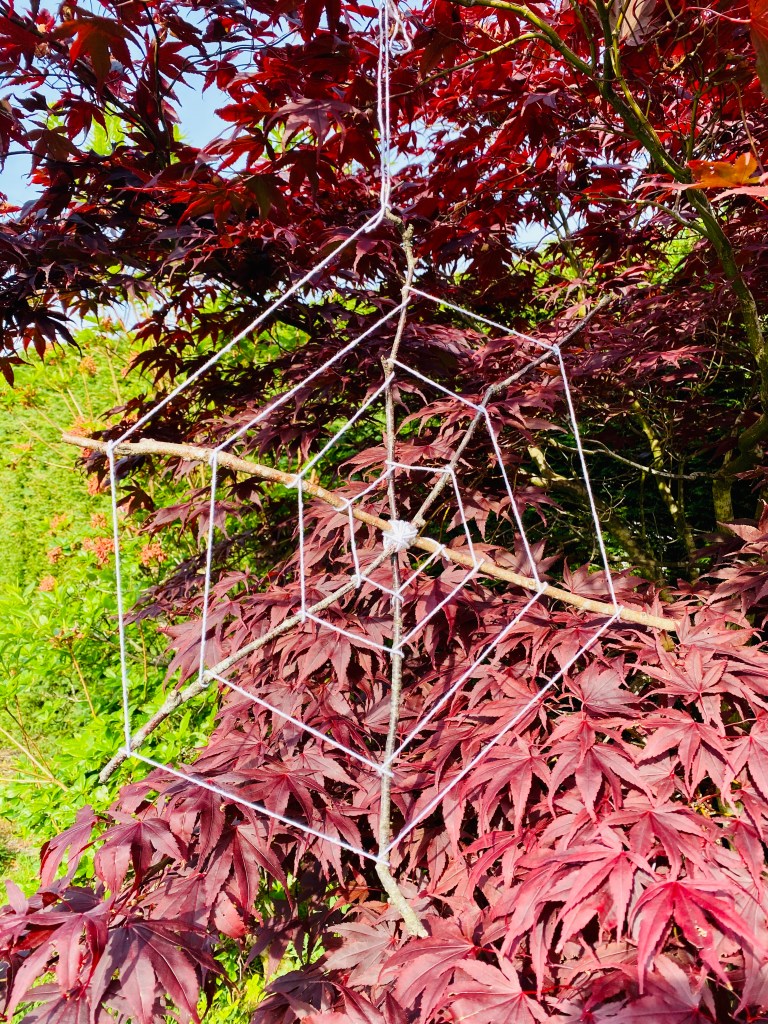
This is such a simple but effective activity to do outdoors (or indoors with kebab sticks!). Simply take three sticks and cross them over into a star shape and secure them in this position with string. Then slowly loop the string round a twig then loop around the next twig (360°) and carry on looping in an outwards spiral.
Tip: try to keep the sticks steady so that the string remains taut.
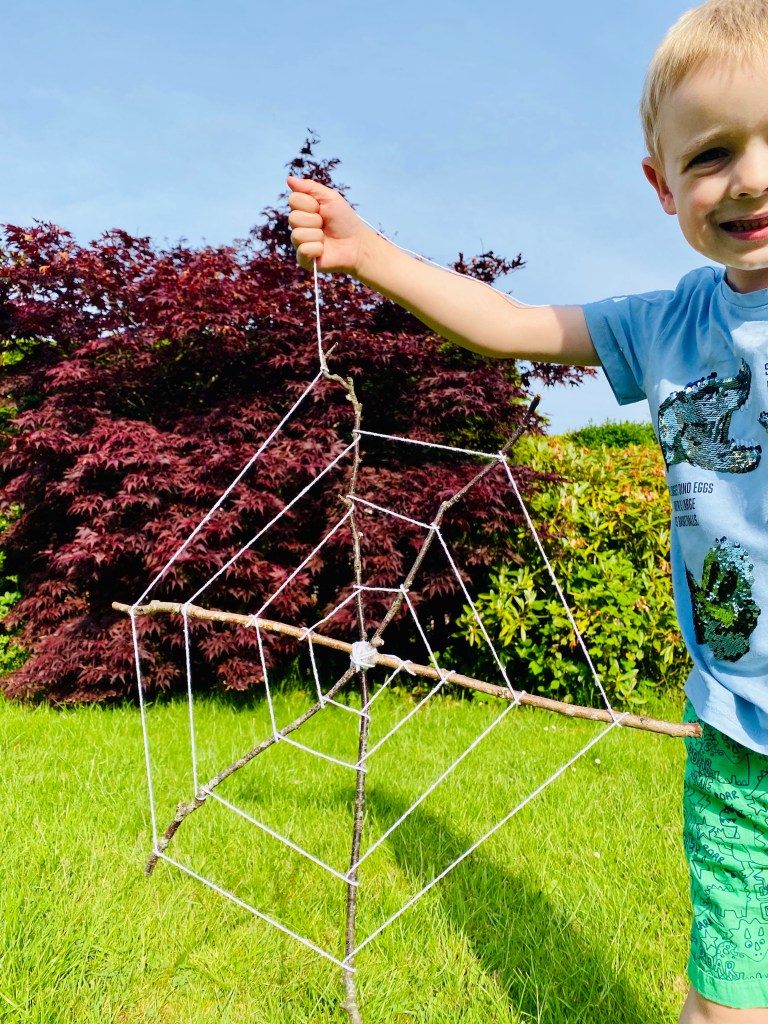
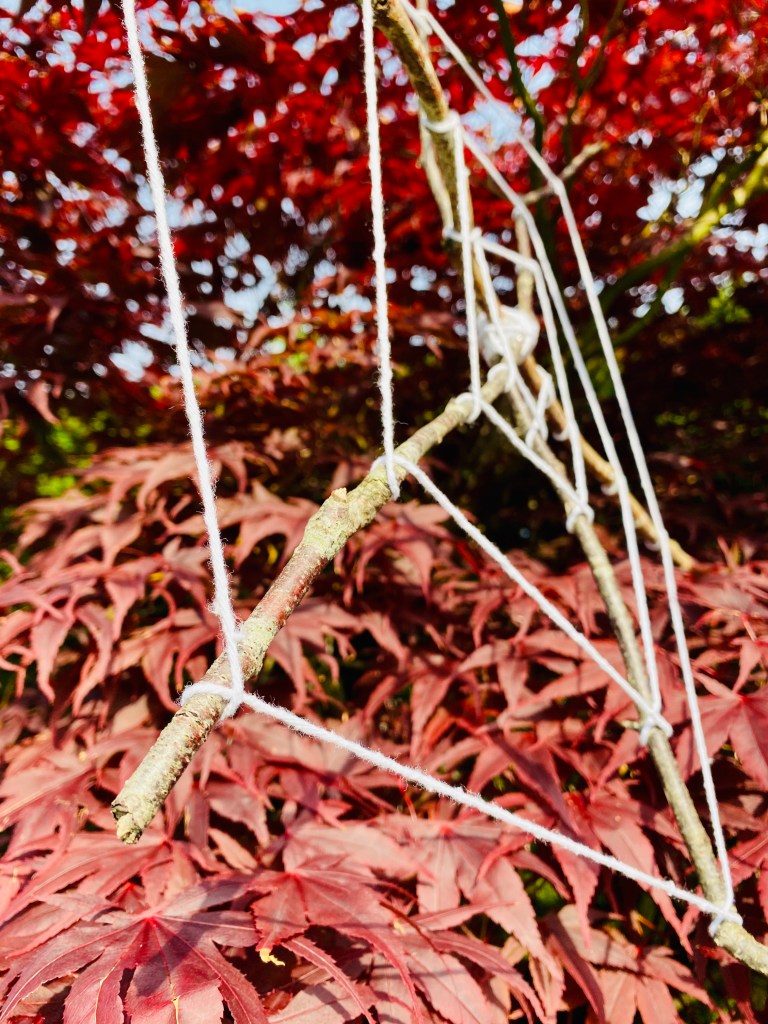
Finally, when you reach the outer edges of the sticks, loop it around again and tie a knot and then hang your web wherever you fancy. You can make tiny versions and huge versions of this so defintely have fun collecting sticks and having a go!


Activity 5
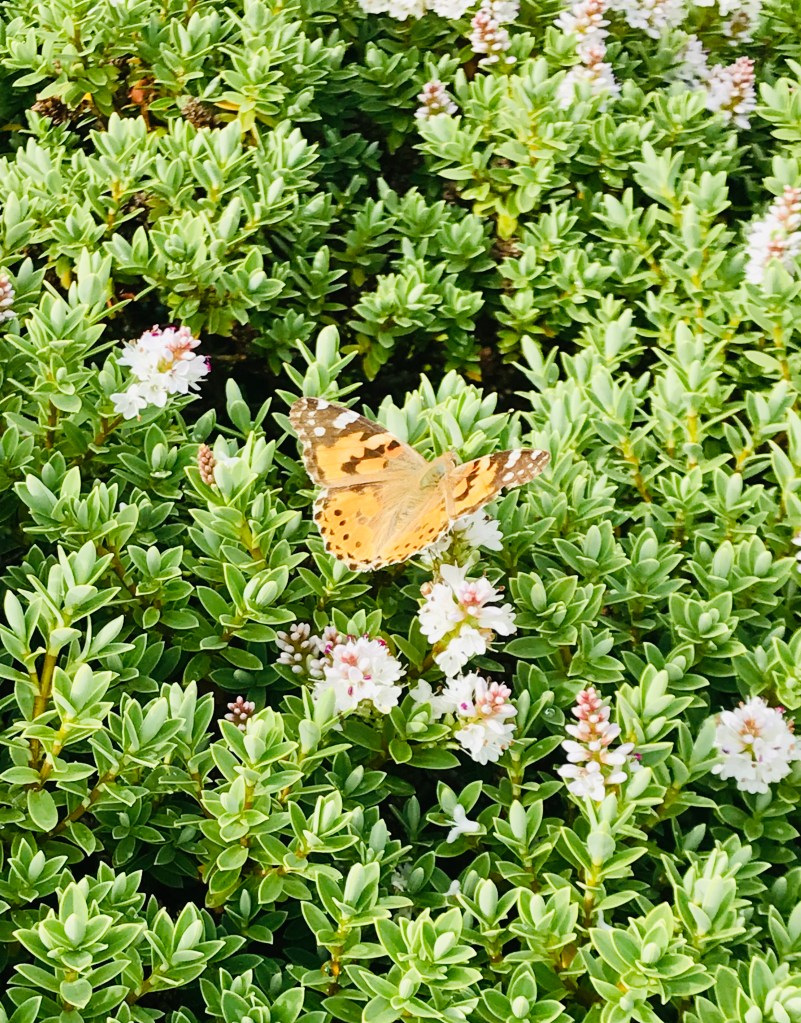
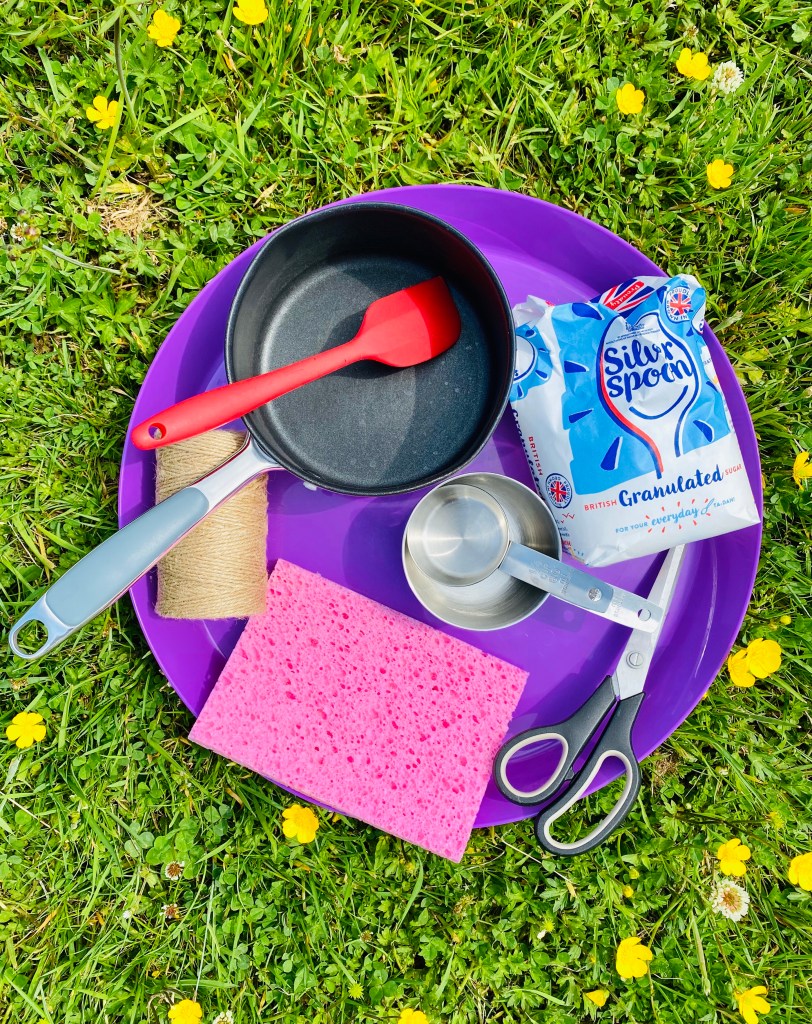
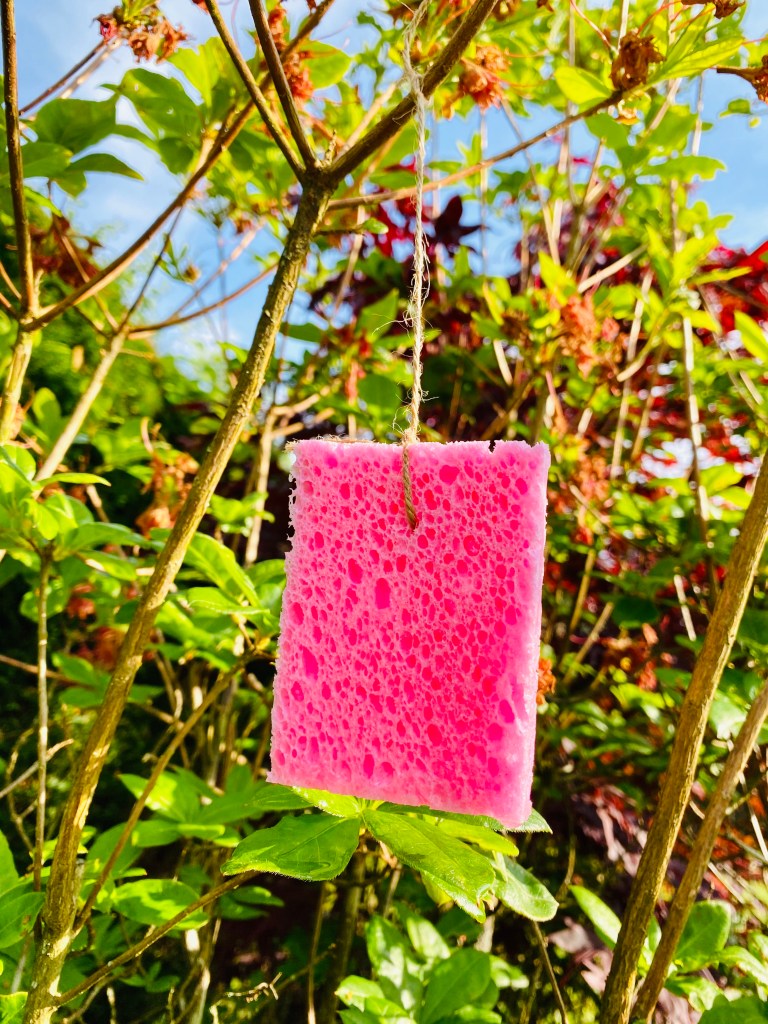
Butterfly Sponge Feeder
You will need:
- Sponge
- Scissors
- String
- Measuring cups
- Granulated sugar
- Pan
- Spatula
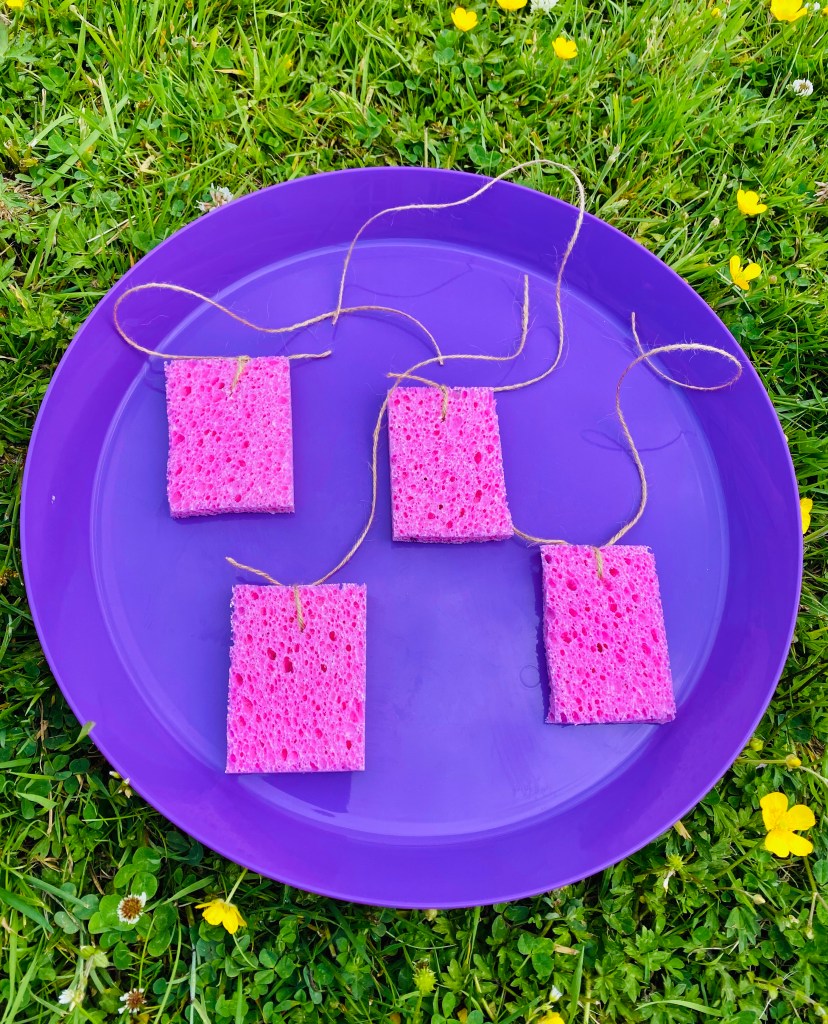
Anything we can do to help the wildlife around us is a step in the right direction and for this week we looked at feeding butterflies. Again, there are hundreds of fancy ways of making feeders, however we wanted to keep this simple and as child-made as possible.
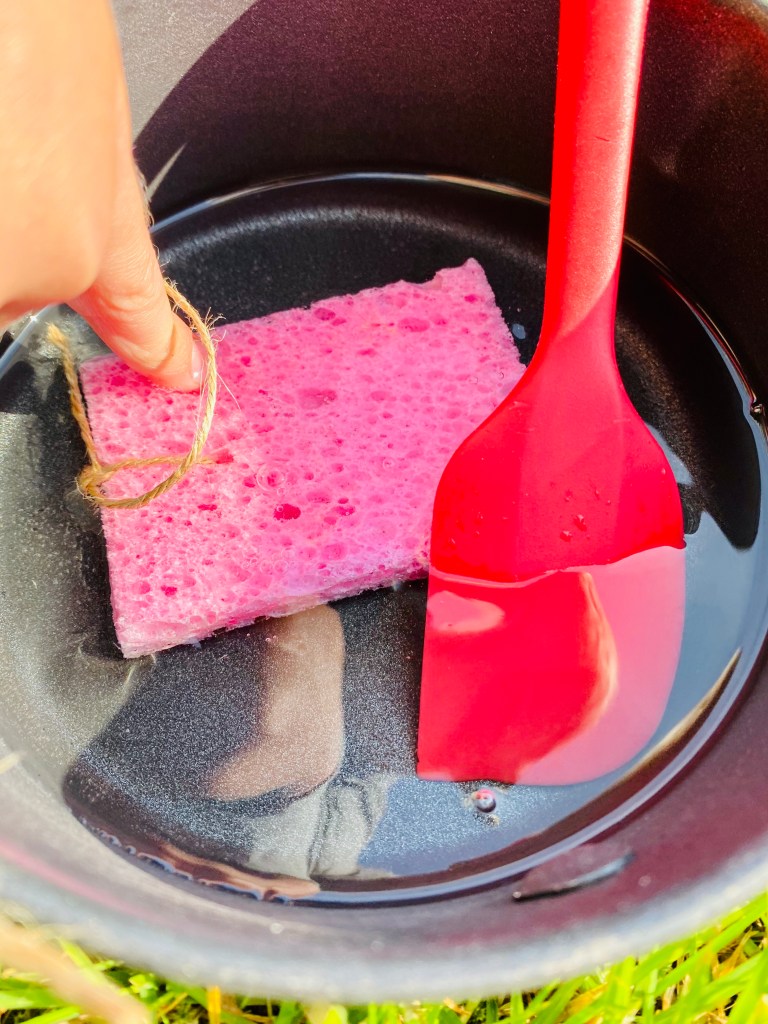
Simply cut a sponge into pieces and thread string through and secure it. Next, gently heat 1/4 cup sugar in 1 cup of water and allow to cool. Dip the sponges into the sugar-water and then hang around your garden/balcony.
We reserved the leftover sugar-water to reuse when the sponges dried out. Happy butterfly watching!


Activity 6
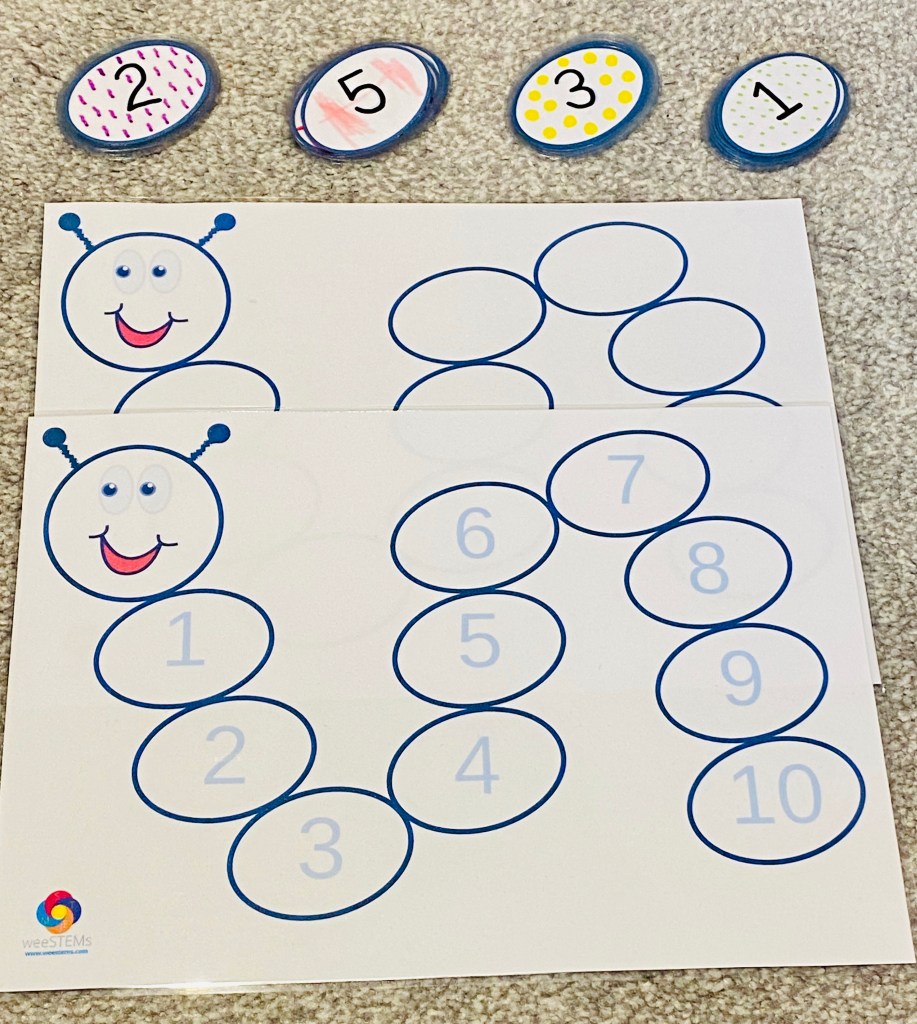
Counting Caterpillar
You will need:
- Caterpiller (printout see below)
- Pens
- Scissors

DO NOT WORRY if you’ve not been keeping up with schoolwork – your kid will have been learning something over these past few months. Whether that’s been observing your work ethic, realising that adults can have meltdowns, or learning EVERY fact there is to know about dragons, they’ll have learned valuable lessons over these last few months so please do not be hard on yourself.
That being said, I hear so many people complain about their kids just not getting things or not being interested or not listening or how on earth can you teach 2 kids at once. So hopefully this activity helps with 1 tiny part of this.
To link to bugs I made a caterpillar but you could make a rocket, minecraft theme, dragon tail….the list is endless (and if you have an idea but don’t know how to create it then please please contact me and I’ll be more than happy to help you!).
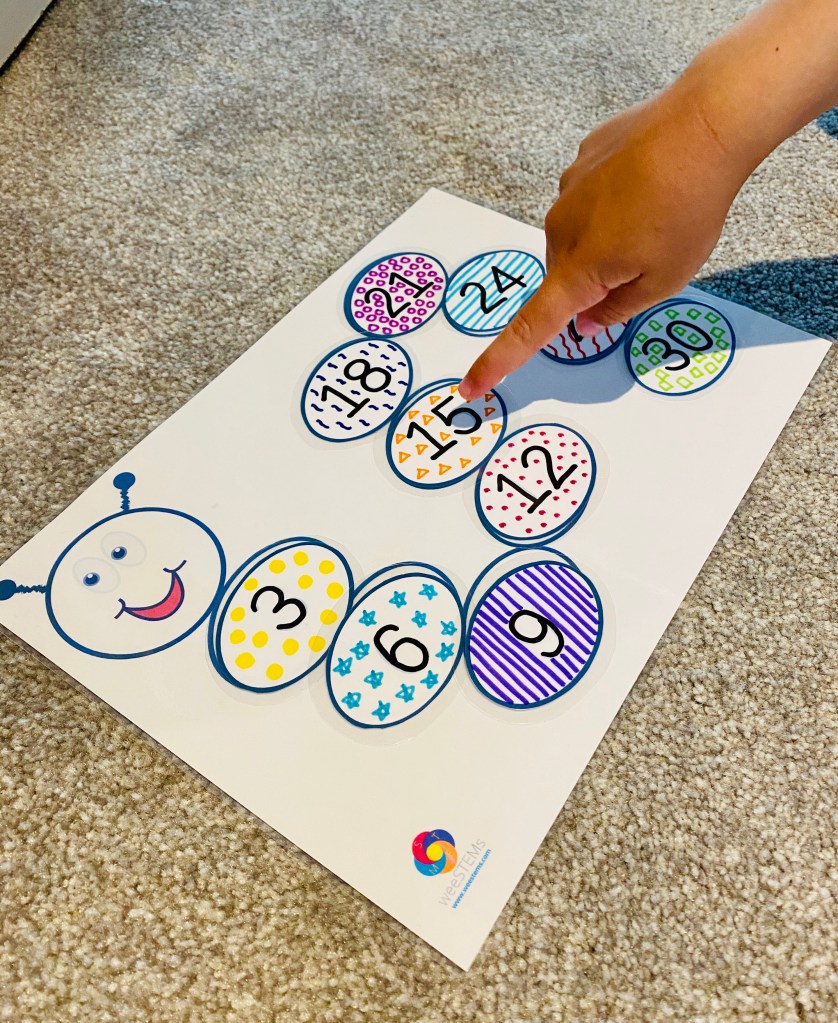
Simply print and cut out the circles on the template above or draw your own! We also coloured ours and drew different designs on each circle so that they are different to look at.
For my littlest (age 2) I printed a caterpillar with the numbers on it so that he could work on number recognition and matching skills (NB there is absolutely NO need for him to be able to do this academically yet but I’d like to expose him to the concept of numbers and counting so thought this would be a fun way to do it especially since his brother had a matching caterpillar).
Here are some ideas we covered for younger children:
- Child points to random numbers and you say the value (i.e. ‘Two’)
- Point together counting up and down the caterpillar
- Place the ‘1’ card out and ask your child to find the ‘1’ and match it
- Once they’ve mastered matching in order (we began with numbers 1-3 before getting bored) try jumbling the numbers up before matching
- Asking your child to ‘point to number 4’ etc


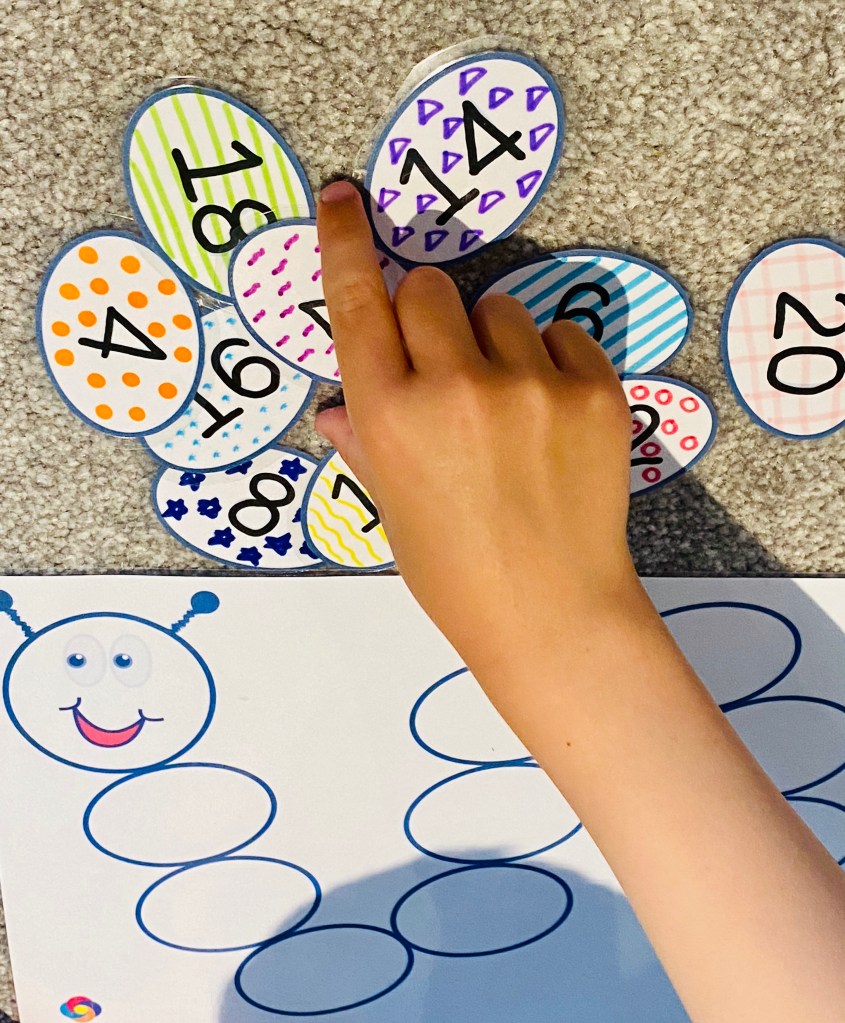
For my 6-year-old I wanted to carry on the learning of the 2-times table (from the Number Arrays activity last week) and recognising patterns in numbers. He is in P1 and this is something that they cover – however he tends to prefer ‘stealth learning’ and not sitting down doing worksheets so he loved ordering the different numbers along the caterpillar today.
As with all activities, it can be edited to suit your needs – you could have an Addition Caterpillar, or practise times tables up to any amount. The possibilities are endless!
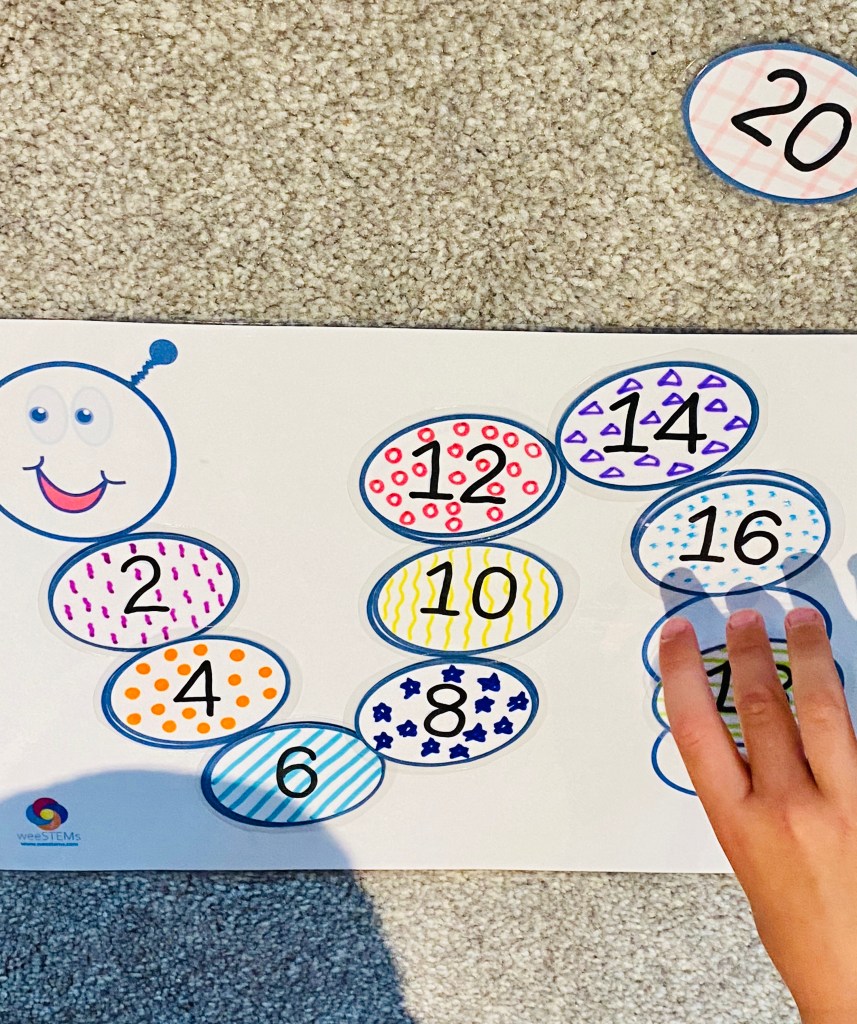
Today we explored the stations of the 2-, 3-, and 5-times-tables by using repeated addition (i.e. 5+5=10, +5=15, +5=20 etc.). It is valuable in maths to start to recognise times-tables stations (especially to make division easier!) so a few things we did today were:
- I began by laying the numbers out in order and asking him to see what the pattern was
- We chanted the numbers going up in twos
- I removed the cards and jumbled them up now that he grasped the concept that they weren’t ordinal (i.e. they were jumping up in twos)
- I pointed to random cards (e.g. 18) and asked him what the number was (to help with number recognition)
- We then moved onto the 5 times table (it’s easier and makes more sense than the 3 times table so try exploring the 2, 5,and 10 times-tables first before attempting others).
- I asked if he could find a pattern between the numbers (they were jumbled up) and he quickly leapt to the 10 times-table – and I allowed him to get it wrong and waited until he realised he had numbers left over before he attempted self-correcting. This is SUCH an important skill – as adults we’re so keen to jump in and correct. But let them make mistakes – especially when you’re watching – to show them that there was no need for you to jump in, that you trusted them to work it out. Let them get it wrong and figure out how they got it wrong and how they can fix it – do they start again from scratch or try to edit what they have?
- We chanted the stations and each time it will become more familiar. It may take hundreds of repetitions but every little counts.
Remember to have fun and allow mistakes. If it’s getting too much simply take a break – or ask if you can do the challenge. Can your child challenge you to place a random card in the correct spot? Show them that you’re willing to play and learn and often you’ll find the most resistant of learners opening up to new ideas.


Activity 7
Spider versus Insect Venn Diagram
You will need:
- Venn diagram printout (see below)
- Scissors
- Glue
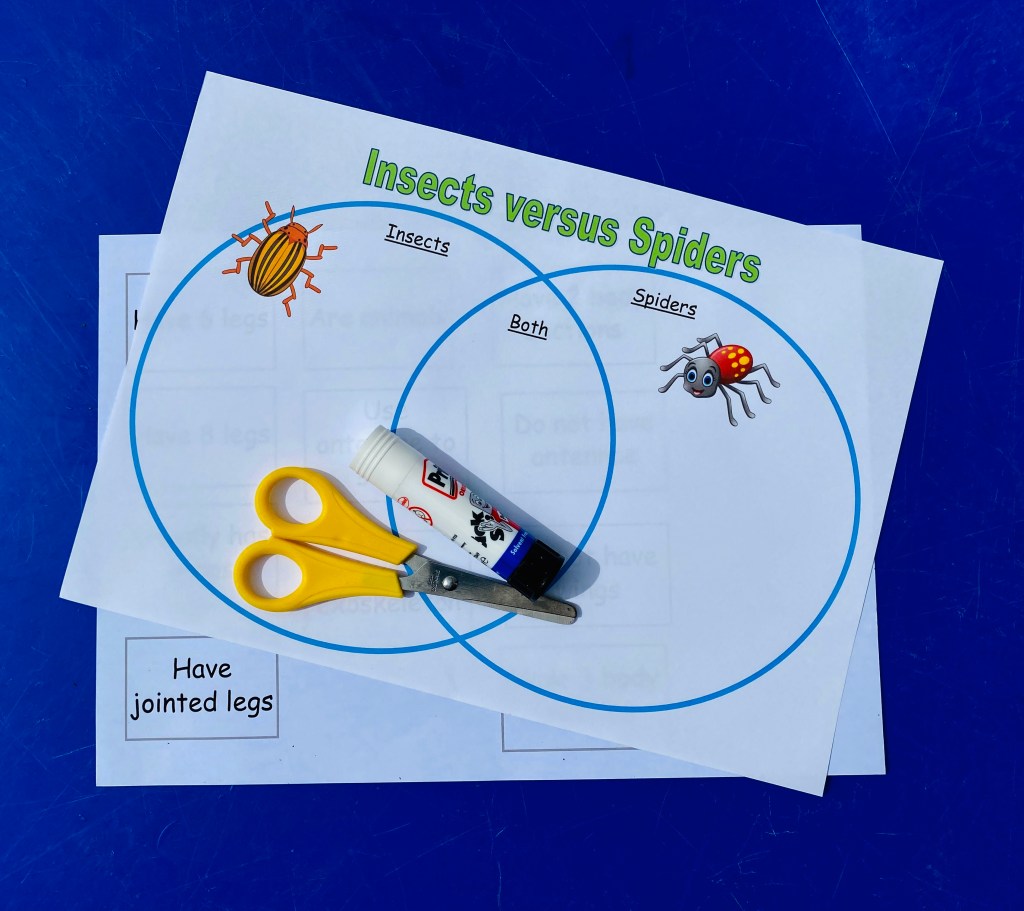
Have a watch of this short video clip and then see if you can complete the Venn Diagram.
A Venn Diagram is a basic but fun way to classify objects which have some similar and different characterisitics. So, in this instance, we’re looking at Insect Only characteristics, Spider Only characteristics, or a shared characteristic that they Both have.
Can you design your own Venn Diagram? What could you classify?


I hope that you’re keeping well and managing to enjoy some nice moments during the chaos.
As always, remember that weeSTEMs should be fun and relaxed and about the learning (whatever that may be). Let your children lead and see where it takes you!
Happy learning xx
