
I absolutely love Spring! I love the promise of longer days and the prospect of potentially nicer weather 🙂
The weather has been glorious – and is forecast to continue – so most of these activities could be done outside. There is a plethora of evidence showing the massive health (both mental & physical) benefits of getting outside – and I notice a huge difference with my kids’ behaviour if they don’t get outside. Even if only for 10 minutes it can work wonders for you. In these crazy times please remember to look after yourself too – and that could mean dragging a massive mat and loads of books out and lying in the sunshine reading and chilling without an agenda.
In the following activities we’ll explore a mixture of Spring themed STEM activities and Easter-themed ones just in case you’re looking for some simple and fun activities that you can do with several children of varying ages (it’s something I always struggle with!).
I’ve created these weekly STEM themes so that there’s enough to get you through the week and get you started on a mini-topic if that’s what you fancy doing. Otherwise, pick and choose any that take your fancy.
*If you’re low on energy this week, Activity 1 & 2 require few resources, minimal parental involvement and your kids will want to create them over and over so they’re a great place to start if you need a break*
Happy learning!


Activity 1
Patterns
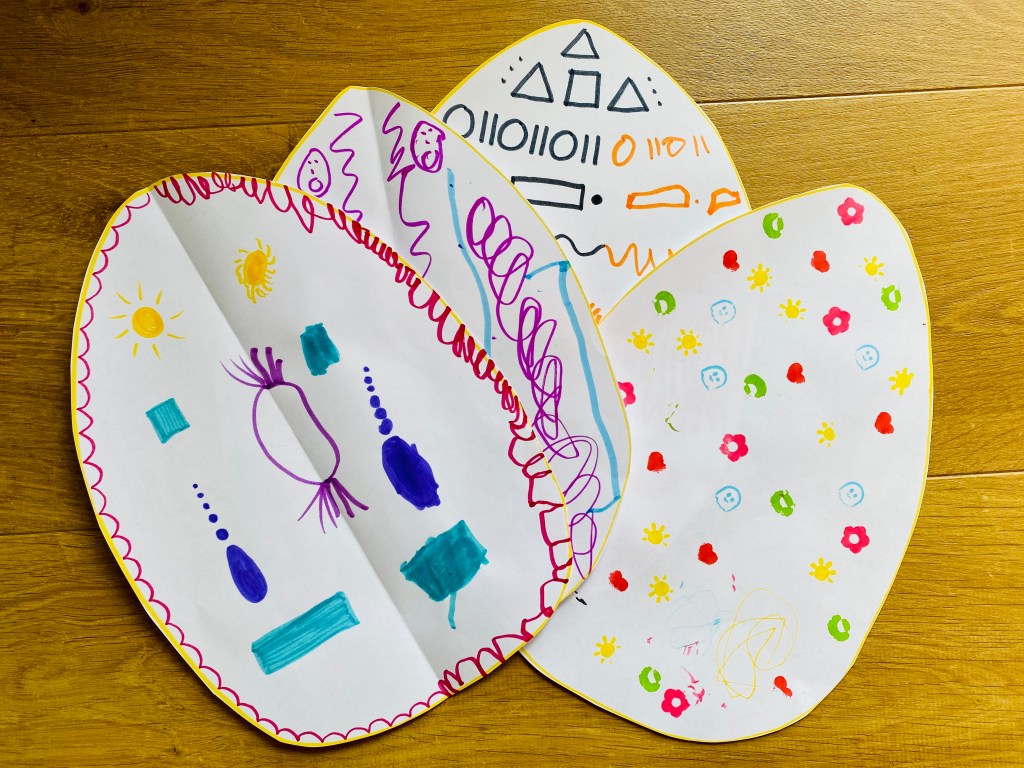
Everyone loves decorating eggs and in this fun activity you can explore symmetry, pattern, and scissor skills.
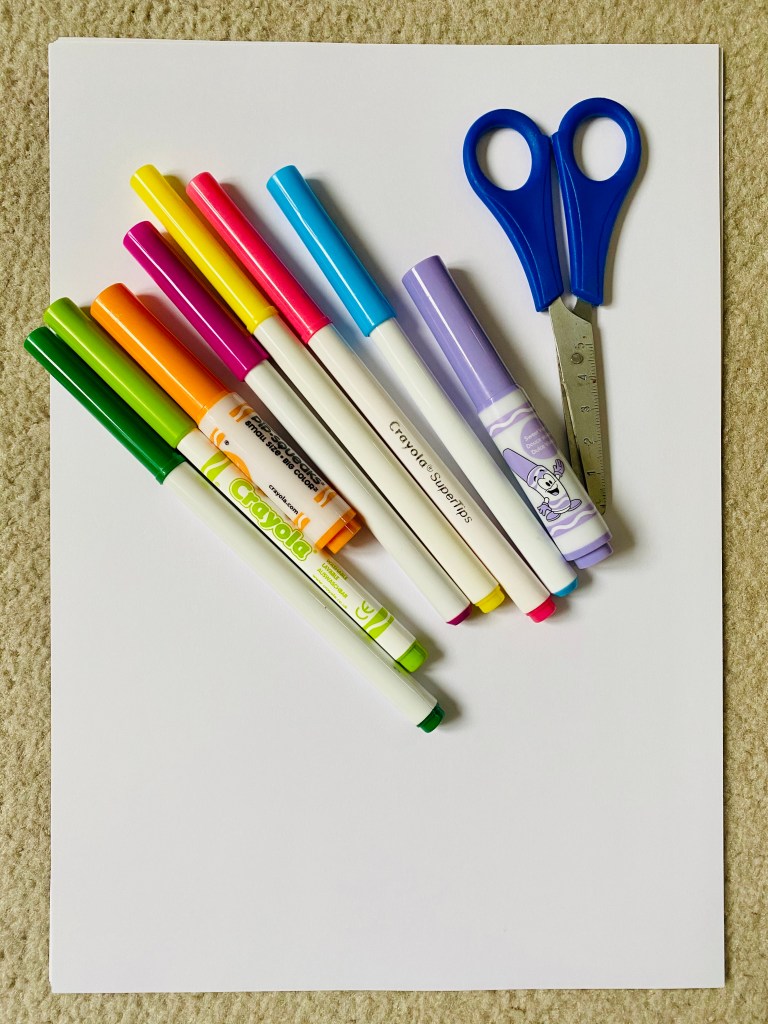
You will need:
- Paper
- Pens/crayons/paint
- Scissors
Instructions
We explored several different mathematical concepts using our paper Easter eggs in this activity – and it’s great for kids of all ages (and quite therapeutic for adults too!).
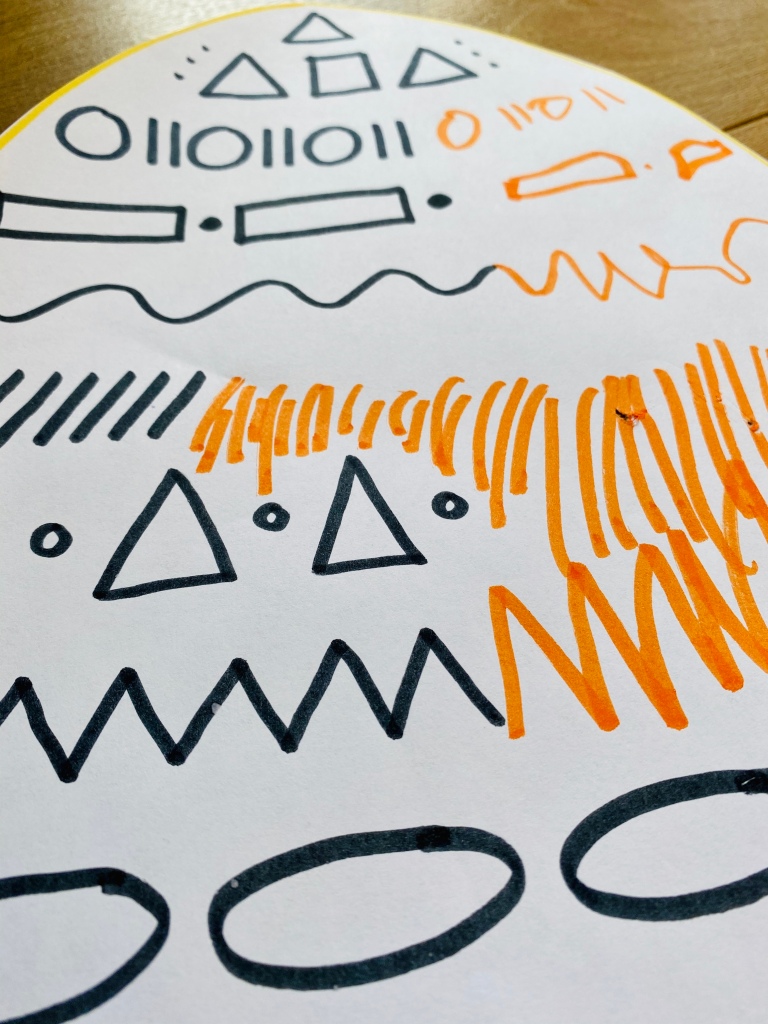
To explore Symmetry, I drew some egg shapes onto paper and started to decorate one half with different shapes and asked my eldest (age 5) if he wanted to complete the other half of the symmetrical egg. We discussed what symmetry means and he suggested folding the paper down the middle to help him see the line. Afterwards he actually folded the paper again to check through the back just how accurate he’d been! I hadn’t thought to do that so was quite impressed at his self-assessment technique.
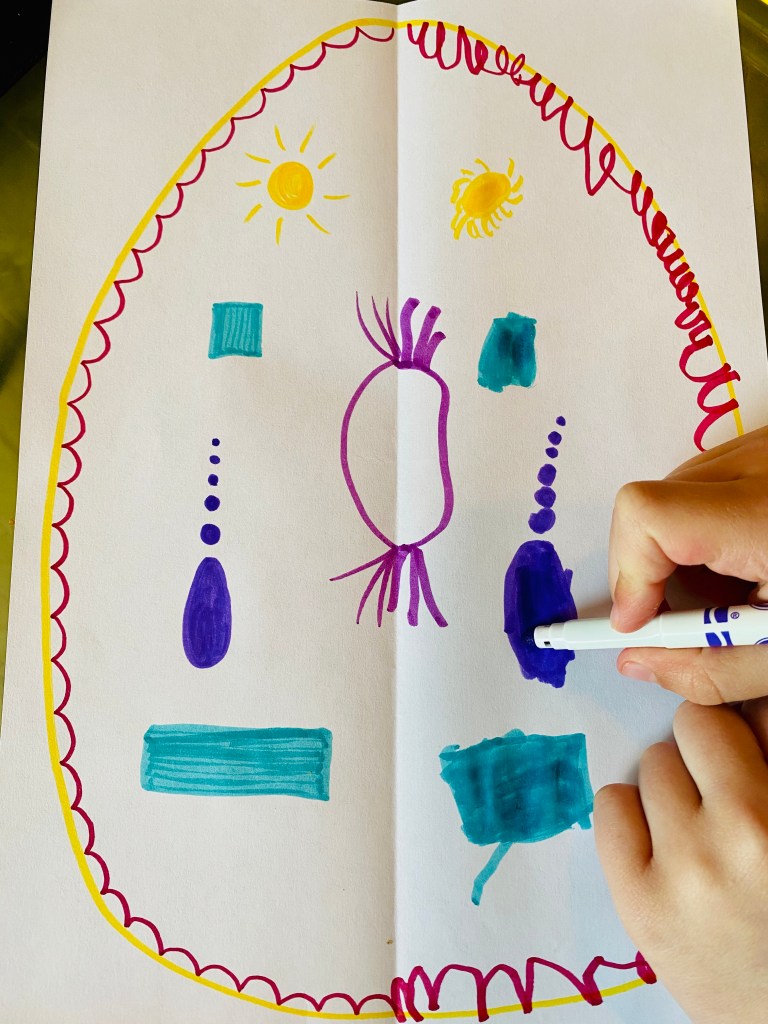
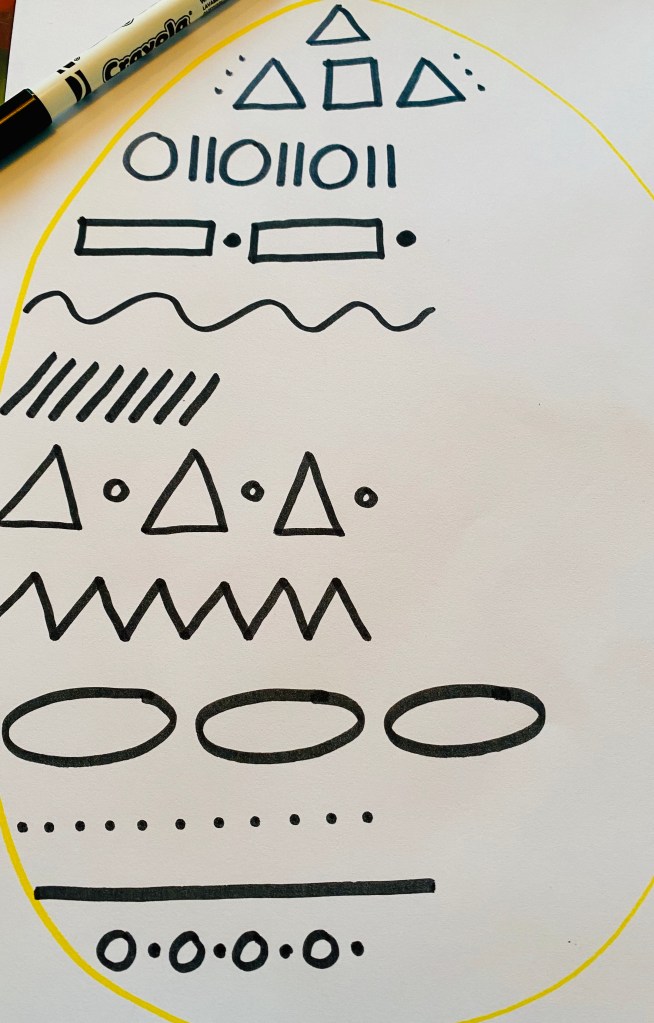
To recognise Patterns, I started drawing basic shape patterns in another egg and encouraged my eldest to complete the patterns (this one was a little too ‘work like’ for his liking but he did complete it). Again you can create simple or complex patterns depending on the age and ability of your child.
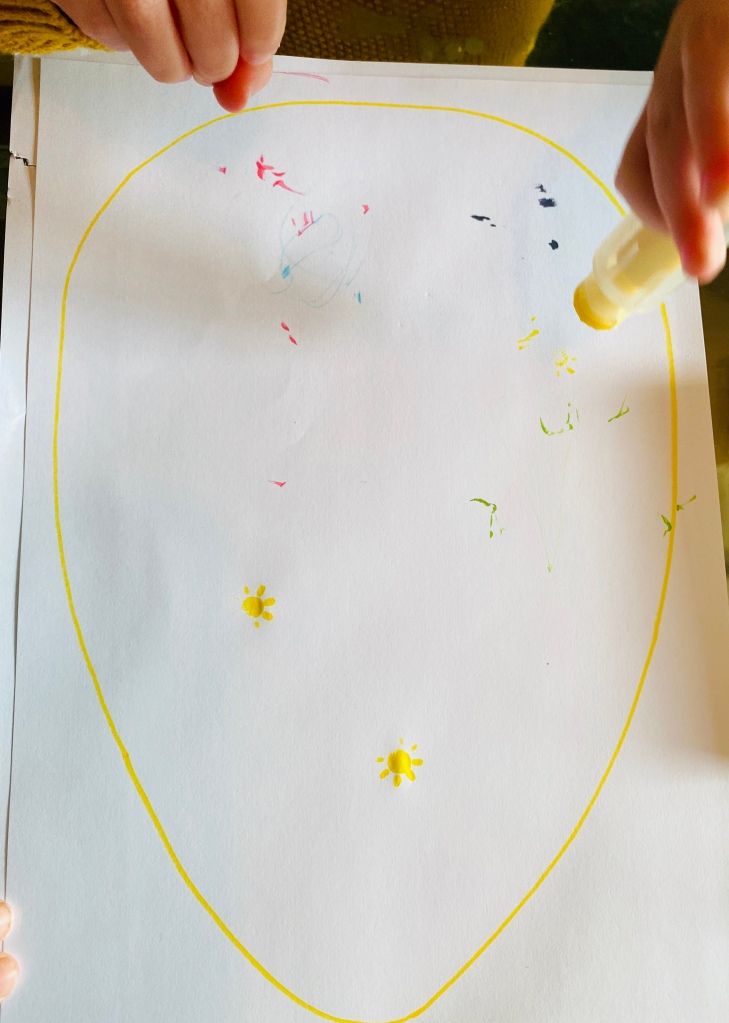
My youngest enjoyed making marks and designing his own egg – we talked about all the different colours he was using (in a conversational way rather than me asking and expecting him to answer constantly). He loved joining in and seeing his work displayed in our window at the end.
To practise Scissor Skills my eldest attempted to cut out his egg and became frustrated (he’s a perfectionist) so I used this opportunity to quickly design a final egg with basic cutting patterns on it (zig-zags, curvy lines, etc) and guided his hand to show him how curving the scissors feels. It’s amazing how using scissors is such a basic skill and yet they are so difficult to learn – so ANY chance to practise with them is great.

Activity 2
Spring Reveal
Spring is such an exciting time and every single member of my family loved this activity so much they kept rushing off to create more and more of their own.
You will need:
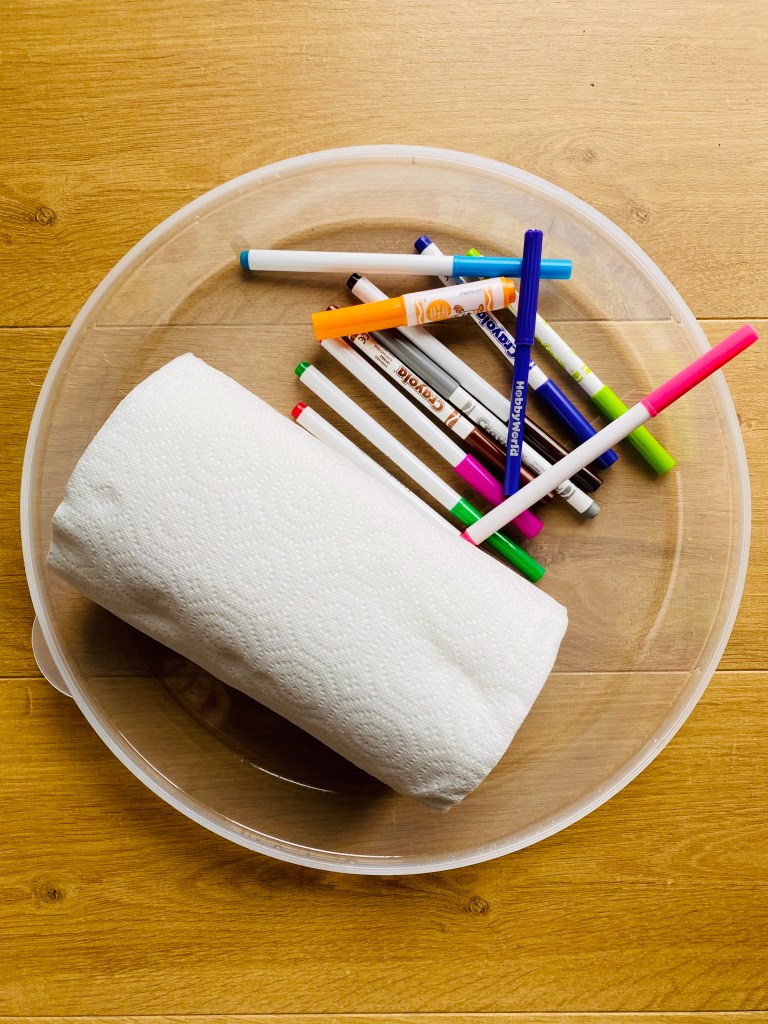
- Kitchen-paper
- Pens
- Basin/sink/tuff spot/tray
- Water
Instructions
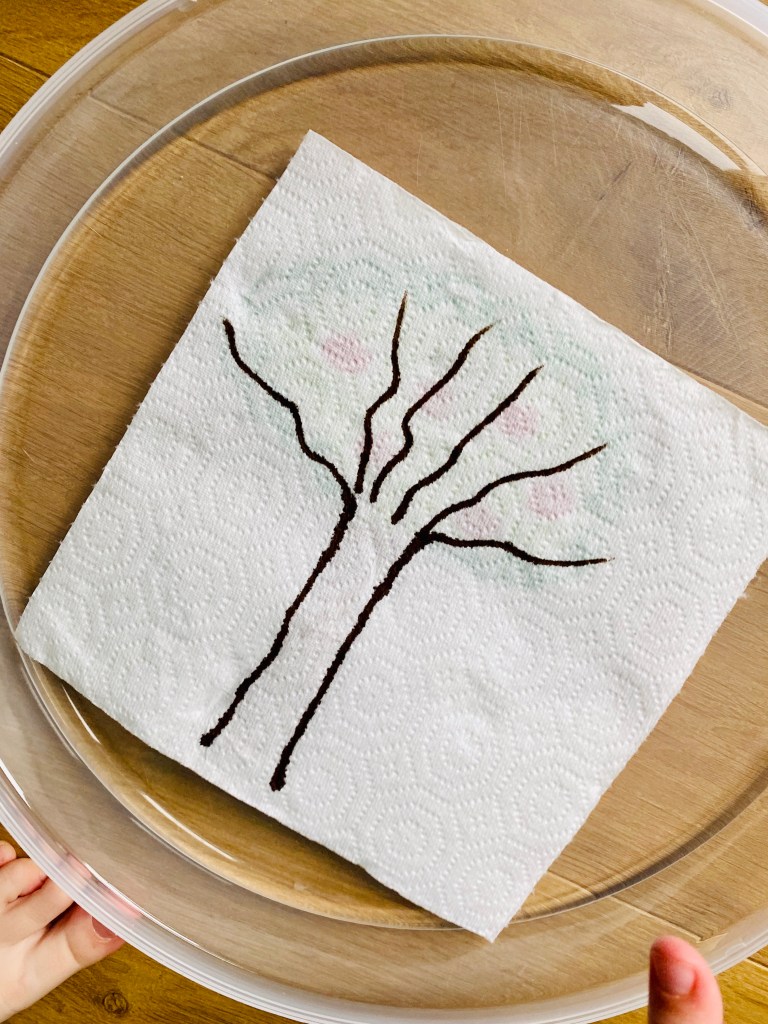
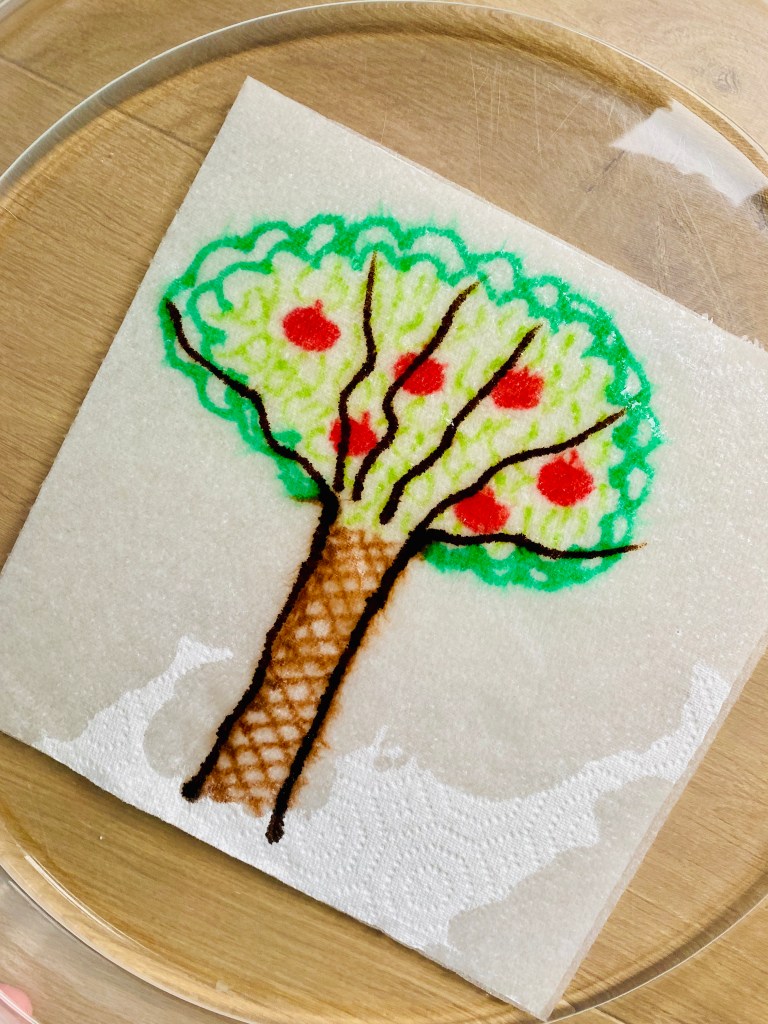
Choose any image that you’d like to ‘magically transform’ before your eyes. To keep it Spring/Easter themed I chose to create a winter tree transforming into a spring tree and a plain egg transforming into a patterned one.
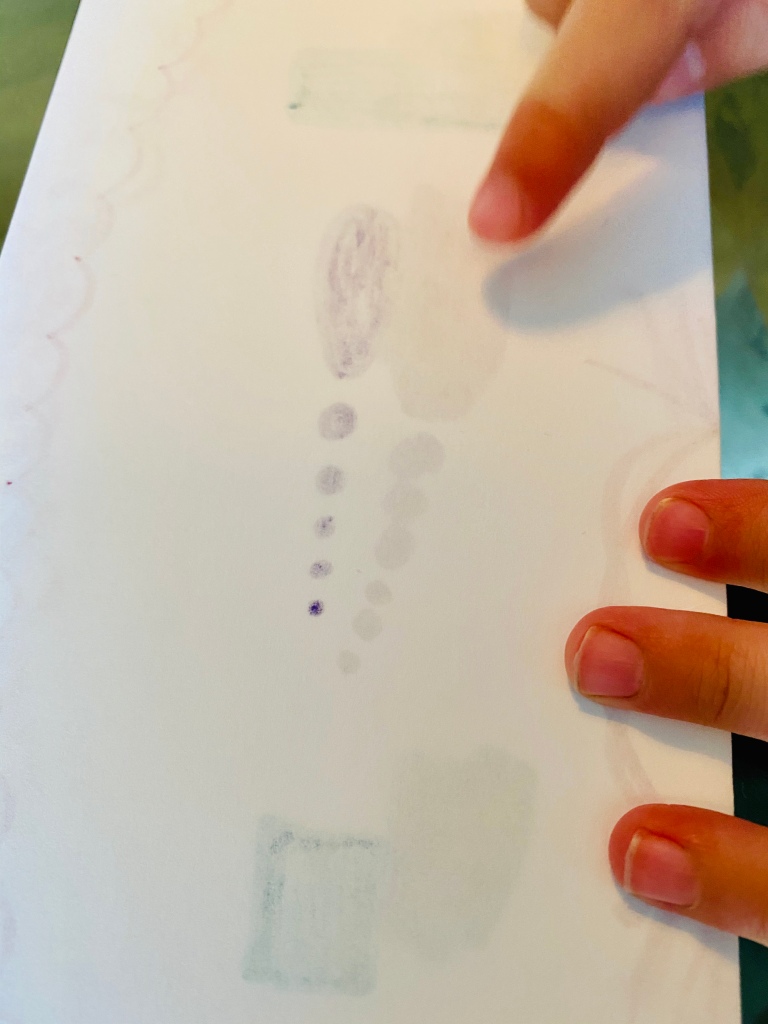
Take 2 pieces of kitchen-roll, and neatly lay one piece of on top of the other. With a dark colour draw the basic first image (ie I drew a wintery tree or an egg outline) and then lift the top layer off and hopefully you will have a rough outline of your ‘reveal’ picture that you can then carefully colour in. Make it as bright and vibrant and detailed as you like.
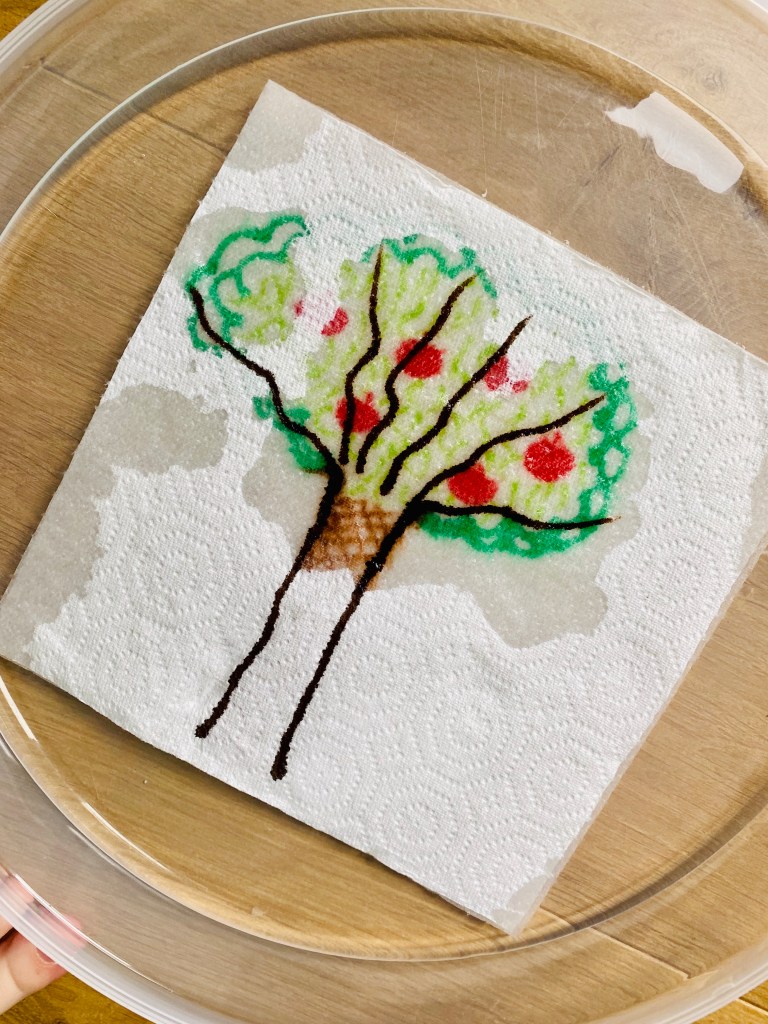
Once you’re happy with your design, carefully lay your top (plain) image directly back on top of your reveal image.
Finally, carefully drop the double layer into the water tub and watch as your image magically transforms!


Click here to watch a YouTube video of the spring reveals
Activity 3
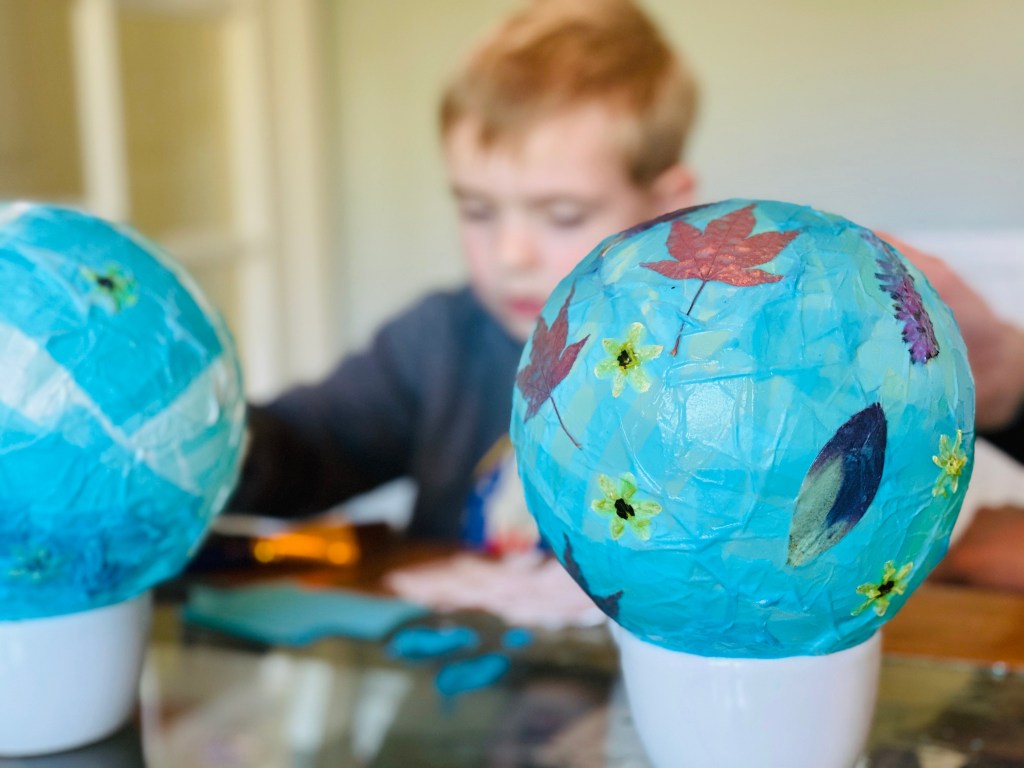
Spring flower lanterns
These are so beautiful (and also a fantastic use of the lovely tissue paper you receive on gifts but it’s always too crumpled to re-gift!).
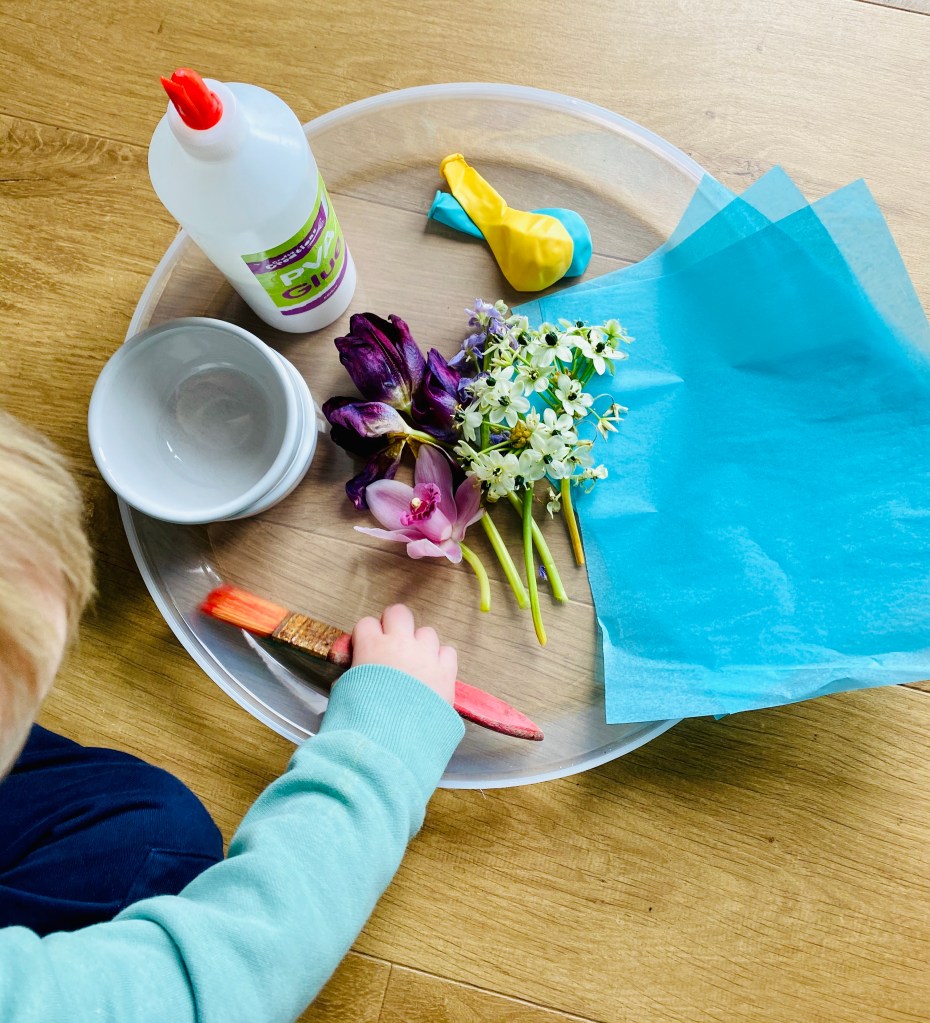
You will need:
- Tissue paper
- Flowers/leaves/ferns
- Kitchen-roll
- PVA glue
- Paintbrush
- Balloons
- Jar/tub to support the balloon
Instructions
We took the flowers from a lovely bunch of flowers I’d received and carefully pressed them between two pieces of kitchen-roll and placed them in a large cookbook and lay that under a heavy box for a few days – to completely dry the flowers out.
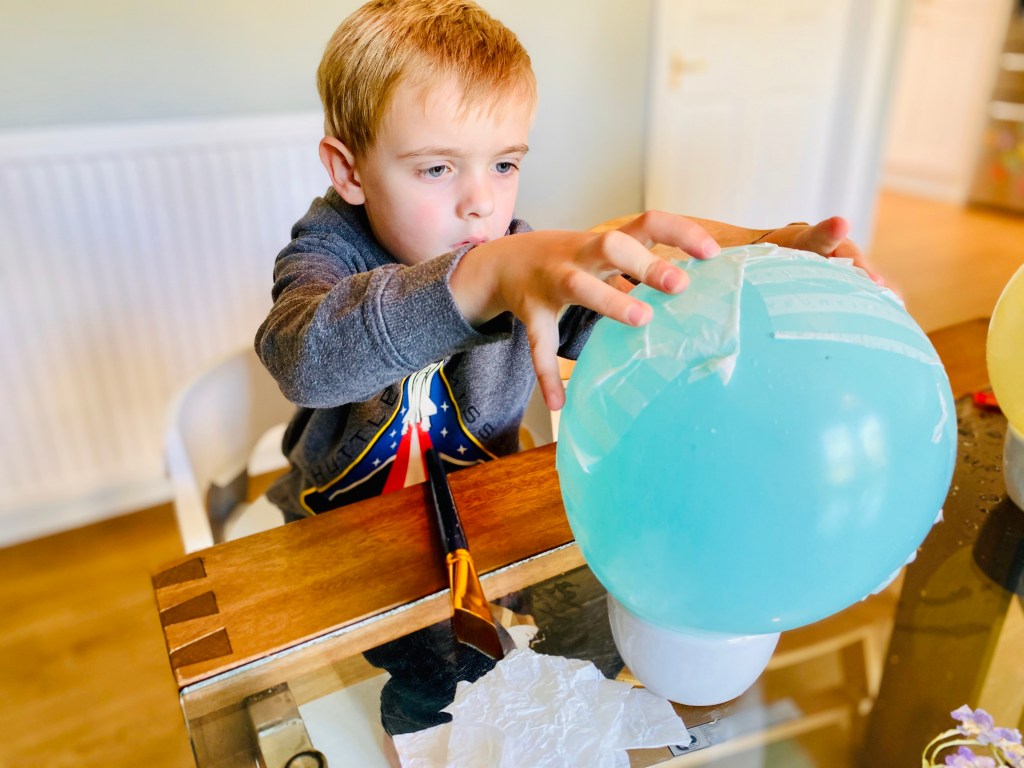
Once they were dry, we blew up 1 balloon per person and carefully balanced them in a jar/tub. Next we cut and tore the tissue paper into small segments.
For the first layer, simply paste it on with plain water (so that you can easily burst the balloon afterwards without it sticking).
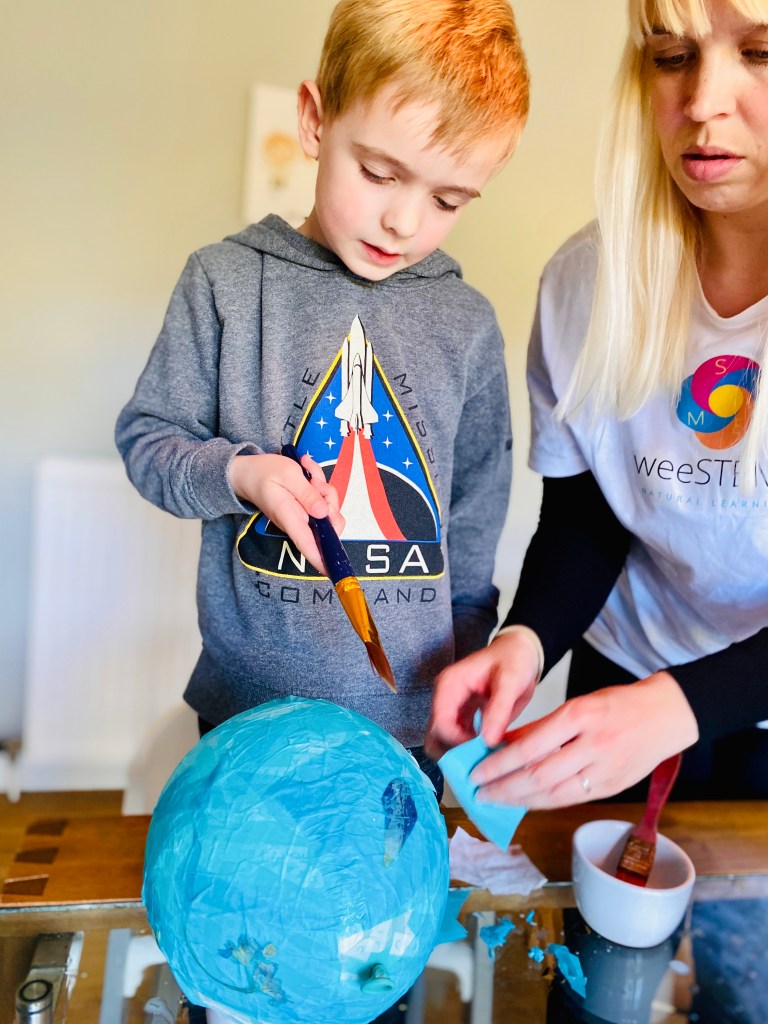
Next, start usign a 50% PVA and 50% water mix to paste on the next layer or two – incorporating the flowers/leaves/ferns. You can either cover them with another layer of tissue paper or leave them on the top most exposed layer (having painted over them).
Leave them to dry overnight before carefully popping the balloon and trimming whichever end you fancy to make it flat – you can have a double-ended open lantern or a one-ended lantern – it’s totally up to you!
Use a battery-operated tea-light to light up your beautiful homemade lantern.
Click here to see the video of how we made them.
Activity 4
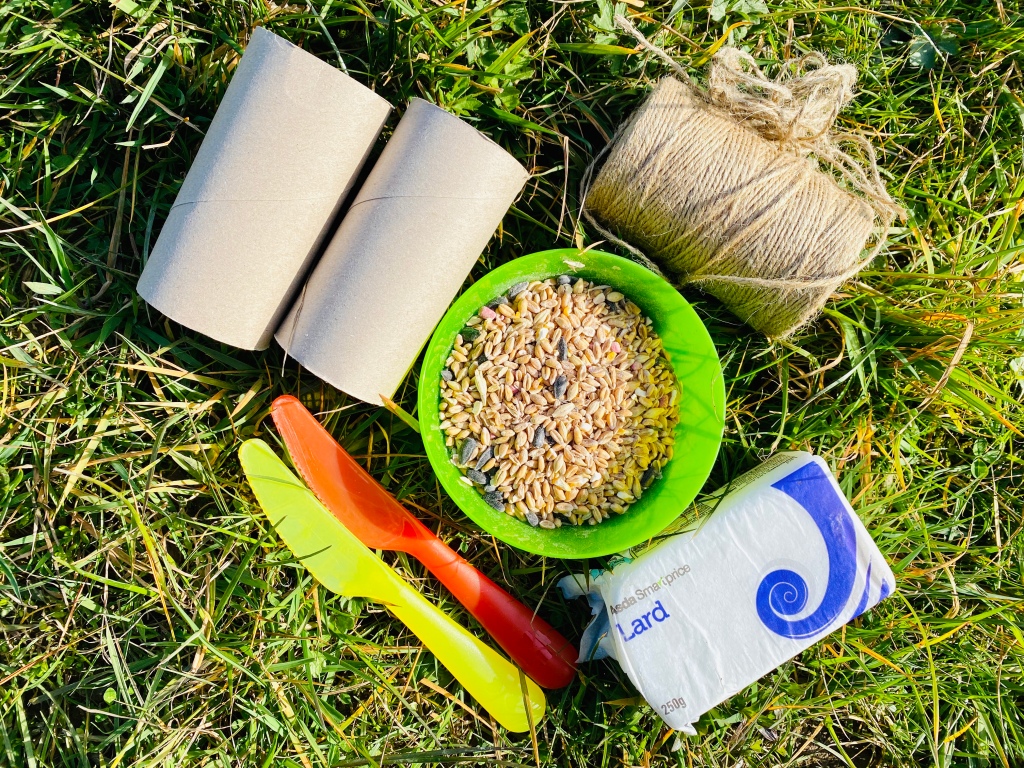
Bird Feeder
Such a fun and simple activity – we’ve already had a squirrel, robin & coal-tit feeding from ours!
You will need:
- Toilet-roll holder
- Lard/honey
- Birdseed/cheerios
- Spreading knife
- Plate/bowl/board/table
- String/wool/ribbon
- Paper & pens (optional)
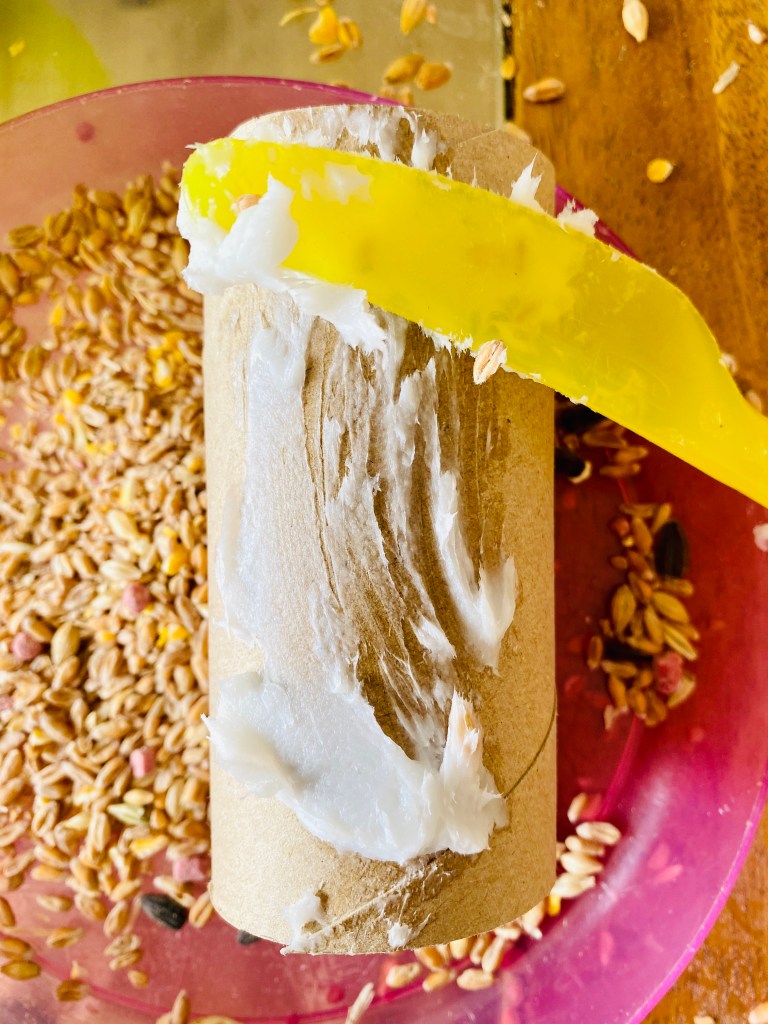
Instructions
Spread the lard/honey all around the outside of the toilet-roll holder and them simply roll it in the birdseed. Thread the string through the middle and cut it at whatever length suits where you plan on hanging it from. Hang it outside and enjoy watching nature feast on your homemade bird-feeder.
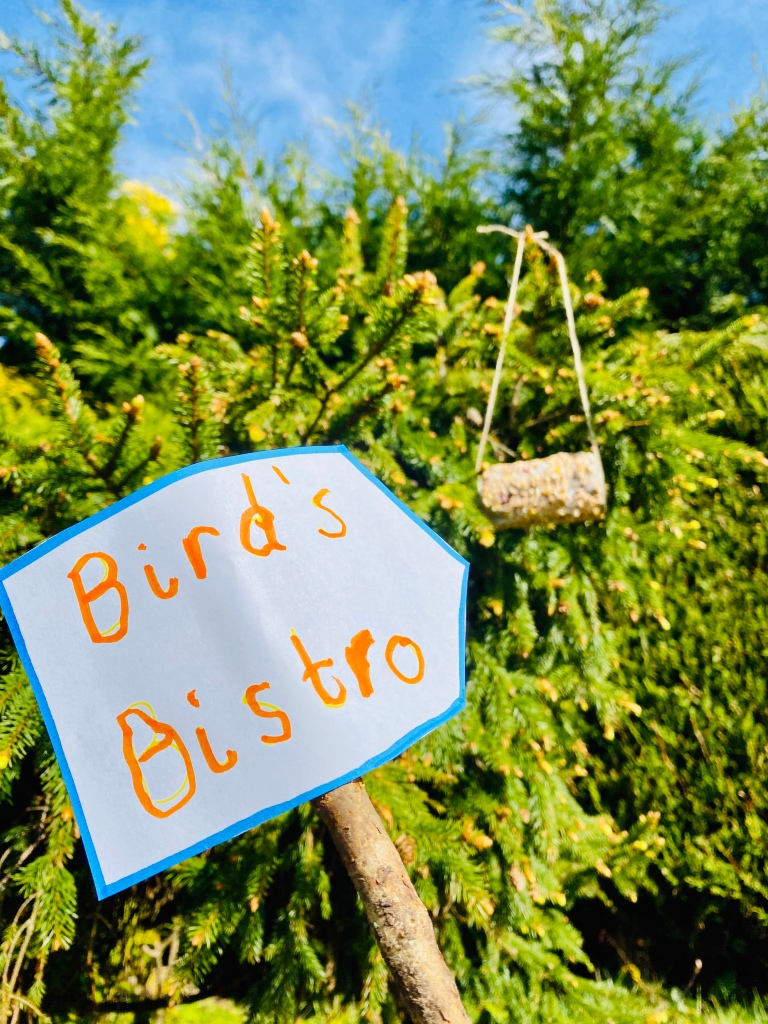
We also made wee ‘Bird’s Bistro’ signs and stuck them on sticks to let the birds know there was a cafe nearby.


Activity 5
Homemade Sundial
My eldest is experimenting with the passage of time right now and so this was a lovely basic activity to actually explore what time actually means.
You will need:
- Paper plate
- Pen/crayon
- Printout/draw your own
- Scissors
- Glue
- Stick/skewer/pencil
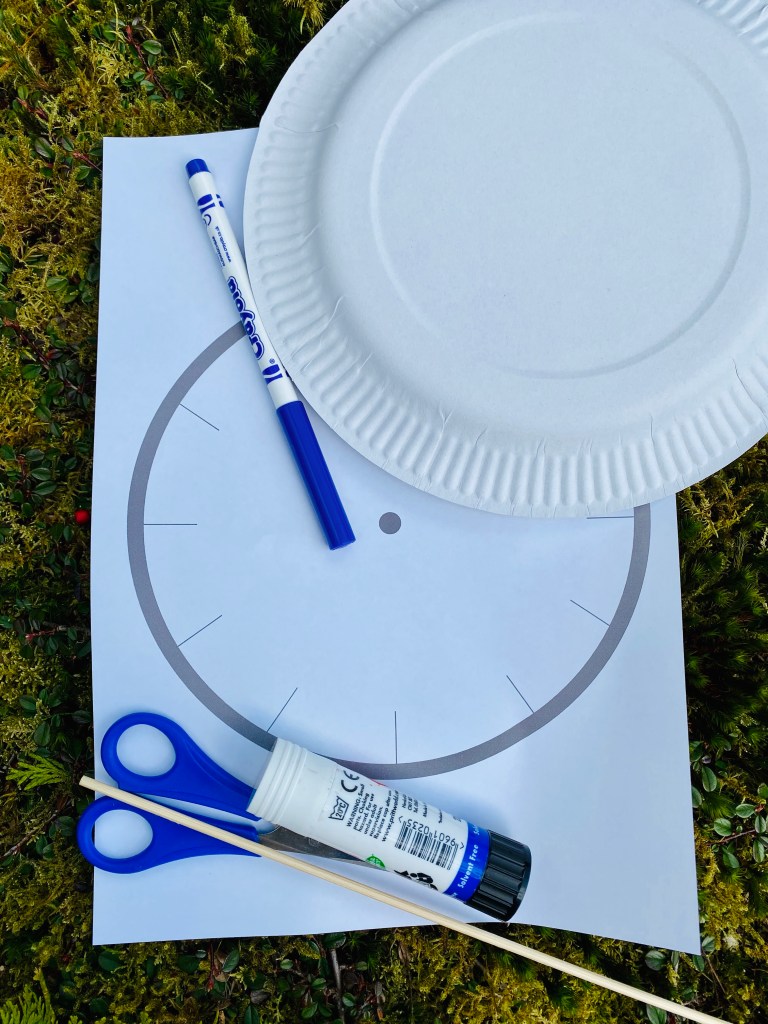
Instructions
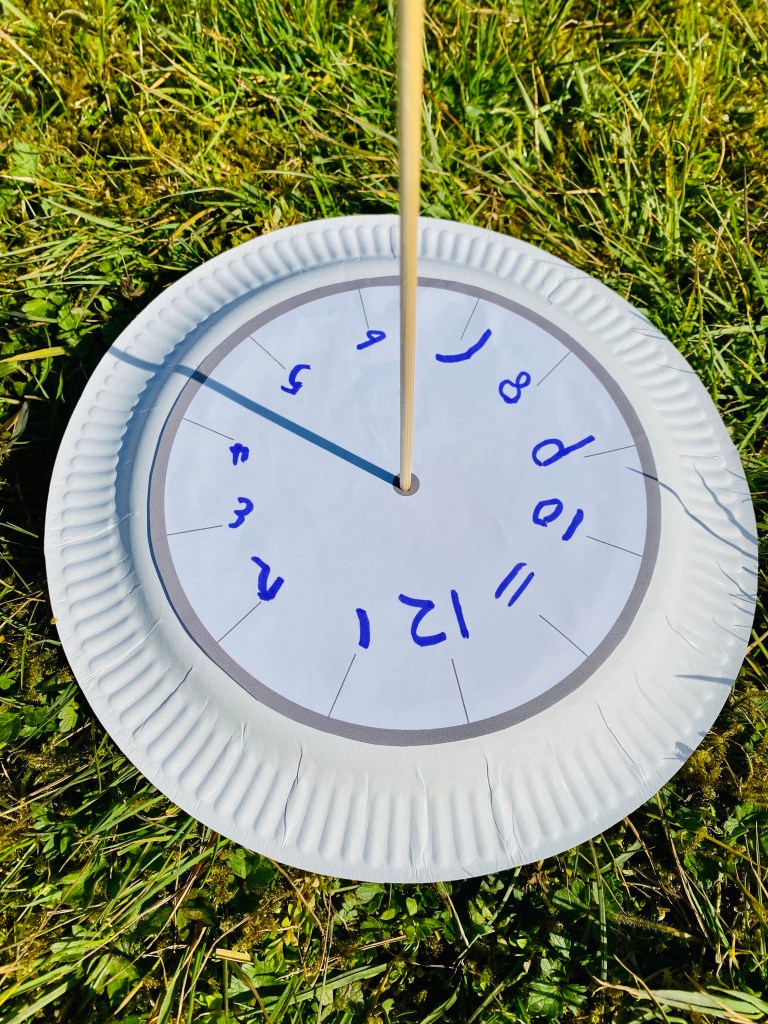
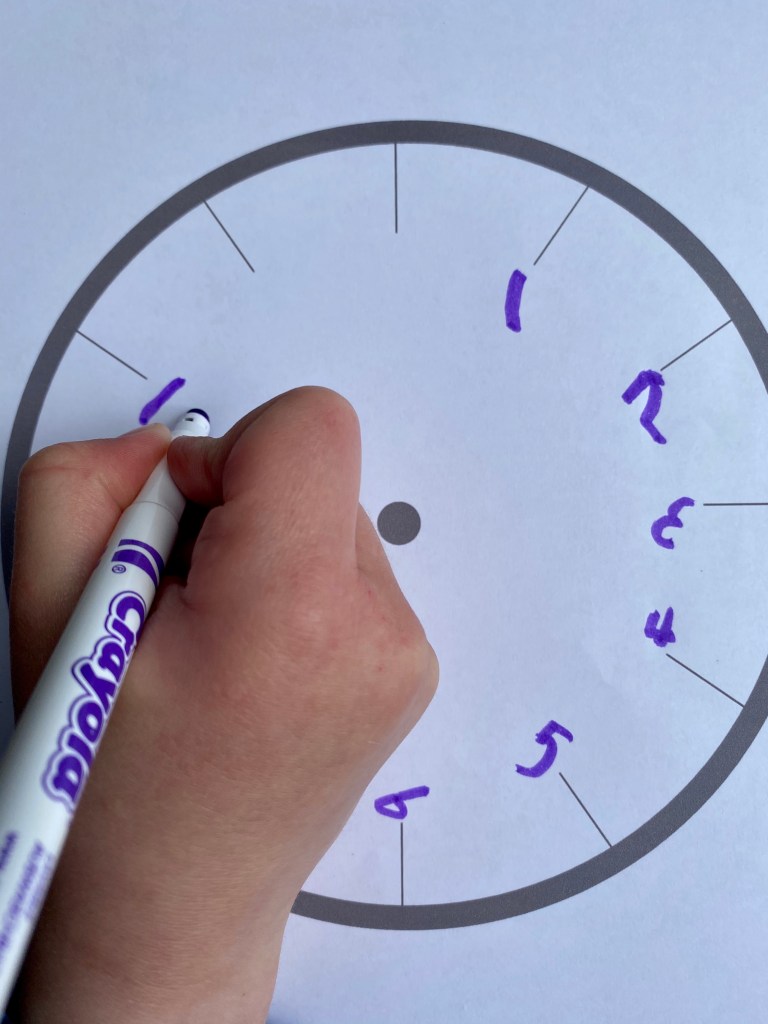
Create your own sundial or print the one above and add the numbers to it.
Cut out the clockface and stick it onto the back of the paper-plate. Pierce a hole in the centre and insert the skewer into the centre. The skewer is called the gnomon.
Ensure your plate is placed onto a flat surface and tilt the gnomon North (because I live in the Northern Hemisphere – if you live in the Southern Hemisphere then tilt the gnomon South). We used a clock (to practise telling the time) to align the plate and shadow.
This activity was a great way to practise number formation as well as explore different reasons why people (and in what circumstances) might rely on a sundial – or even just the sun to help them tell the time. We also agreed that we would track where the sun sets each day and see if it changes throughout the year and why this happens.


Activity 6
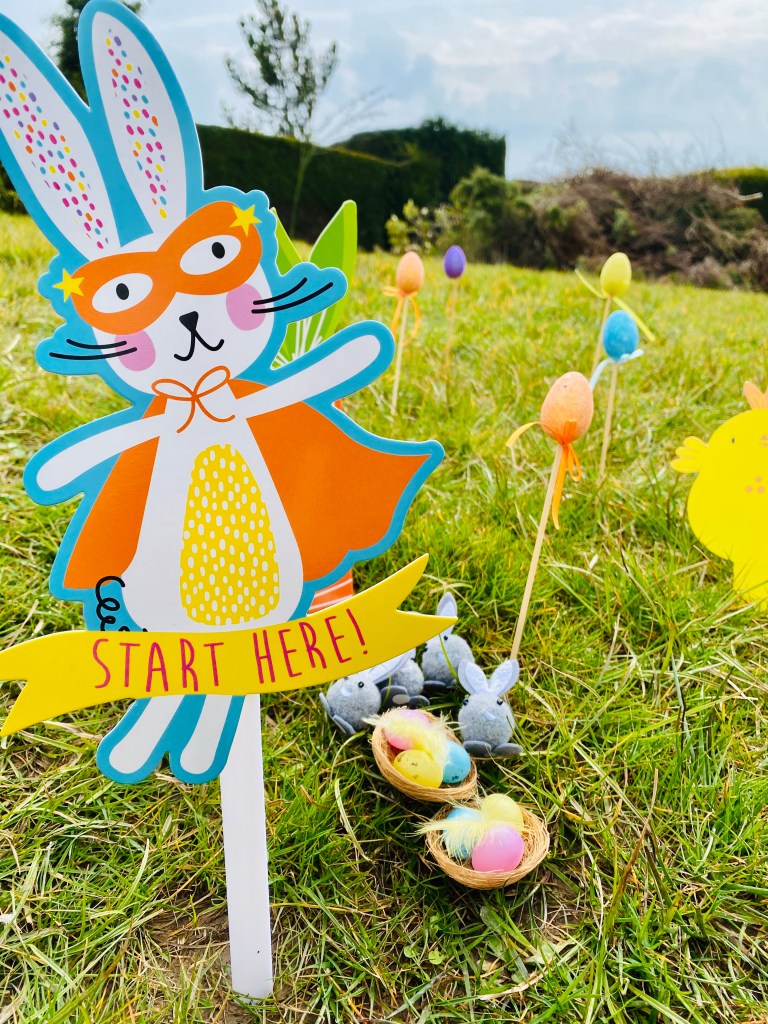
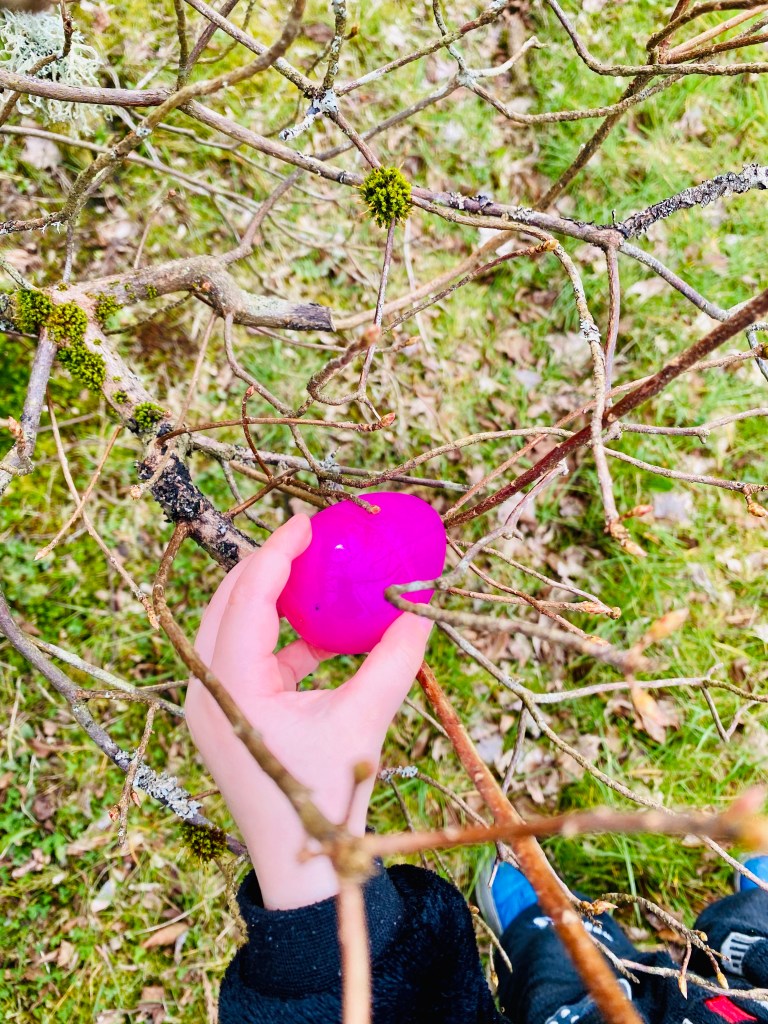
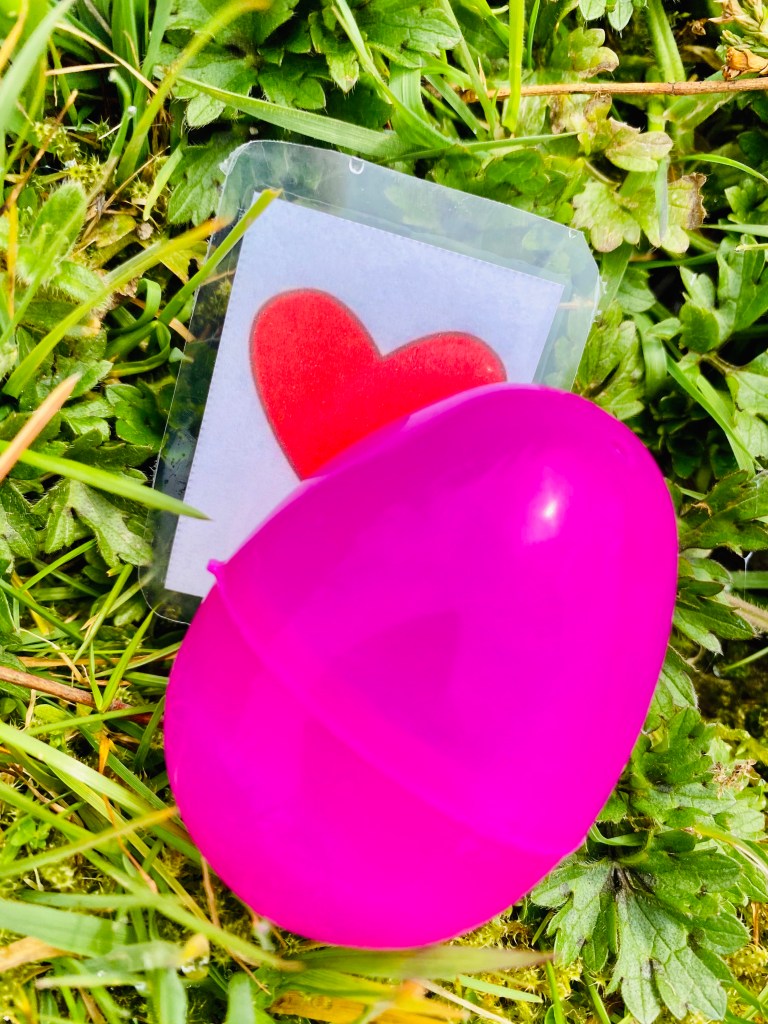
Egg Hunt
This is a brilliant activity that can be differentiated to suit ANYBODY.
You will need:
- Plastic eggs
- Paper
- Pens/stampers
- Clipboard/something to lean on
- Prizes (optional)

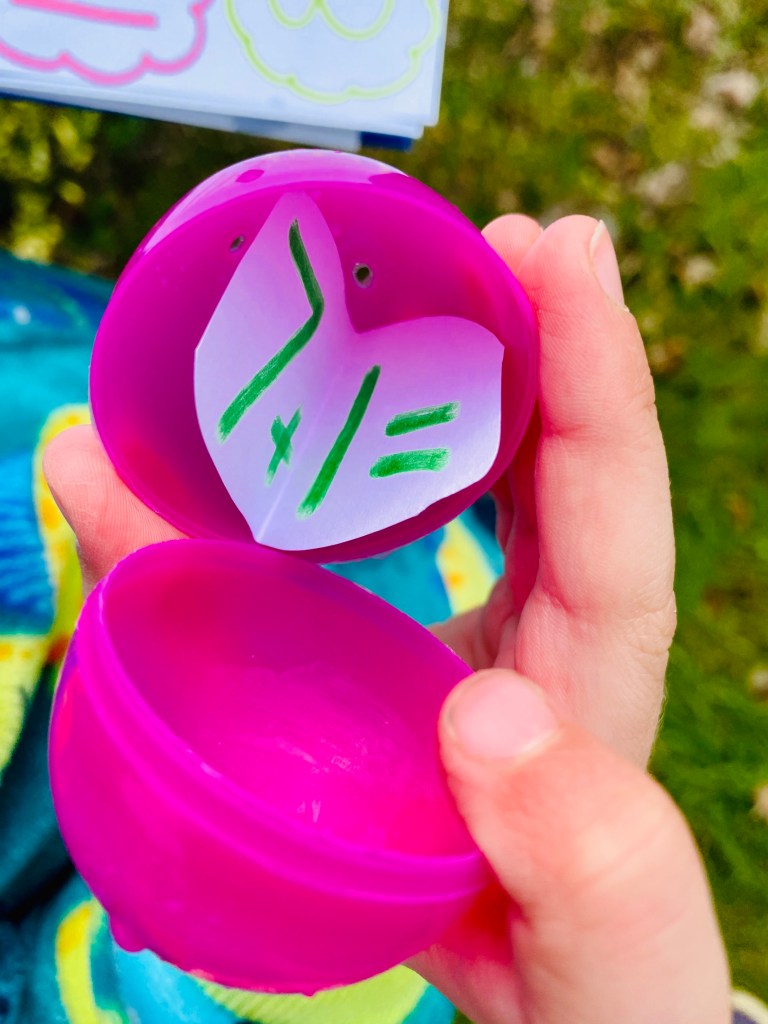
Instructions
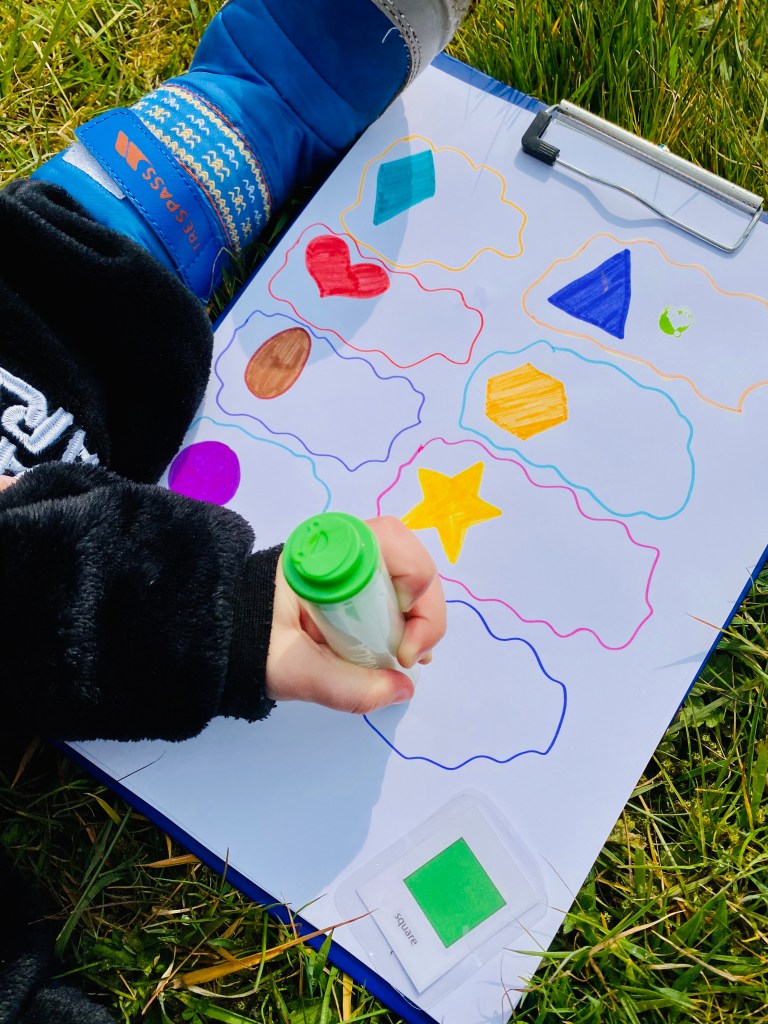
You can choose to fill the eggs with any appropriate challenge or have different questions for different participants. For example, for my 5-year-old I wrote addition questions that he had to answer on his sheet before moving on, whereas my 2-year-old was to match and stamp the shape in the egg (I put both questions in every egg). They wanted to play this over and over again – so you could have a range of activities to add into them. Some ideas are:
- Number recognition
- STEM questions on topics you’ve been learning about (this is a great one for all the family and to get parents involved who might not know the answers)
- Shape recognition
- Fitness tasks (eg 13 star jumps, 21 pushups)
- Build something at each station (eg build a tower out of these rocks, make these sticks into a teepee)
- Map reading skills – record the location that each egg was discovered on a map/grid reference
- How much change from 50p is due for each item in each egg (eg if the tag in the egg says 15p then the participant would have to deduct 15p from 50p (or whatever amount is appropriate)).
The possibilities are endless and often the lure of a prize can encourage even the least enthusiastic students!


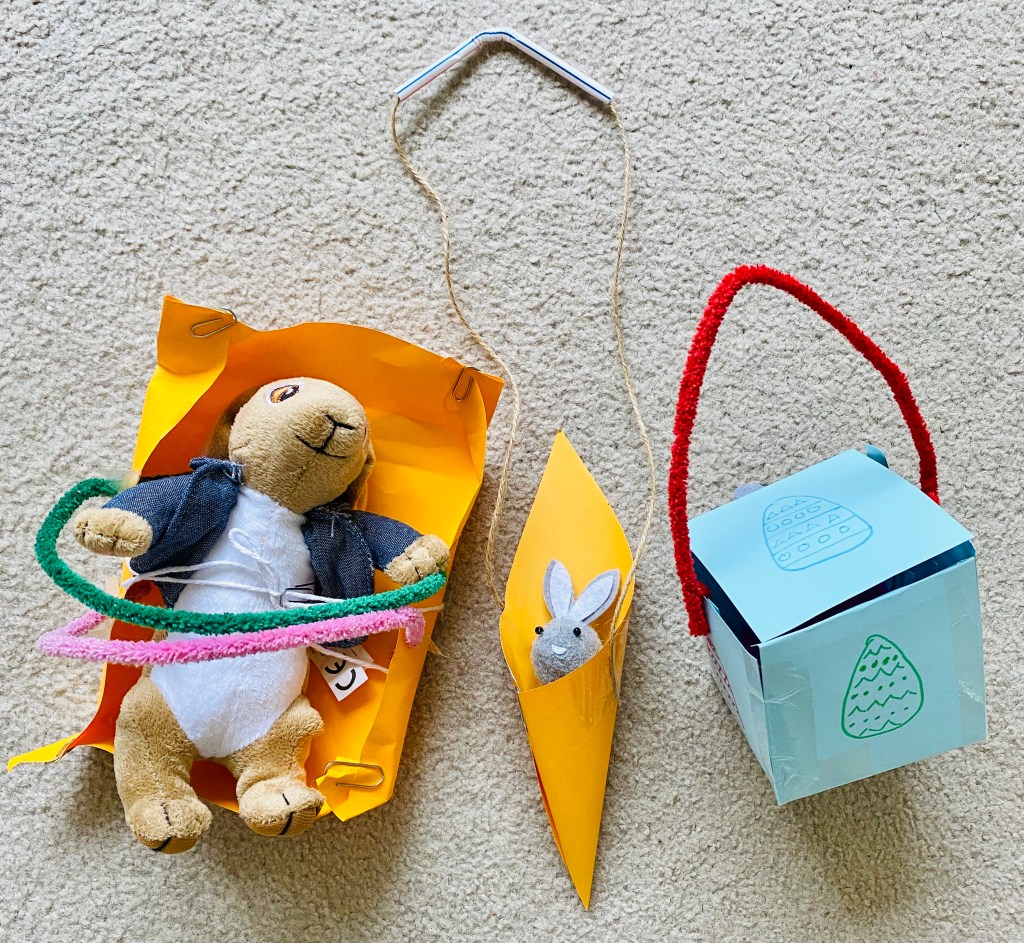
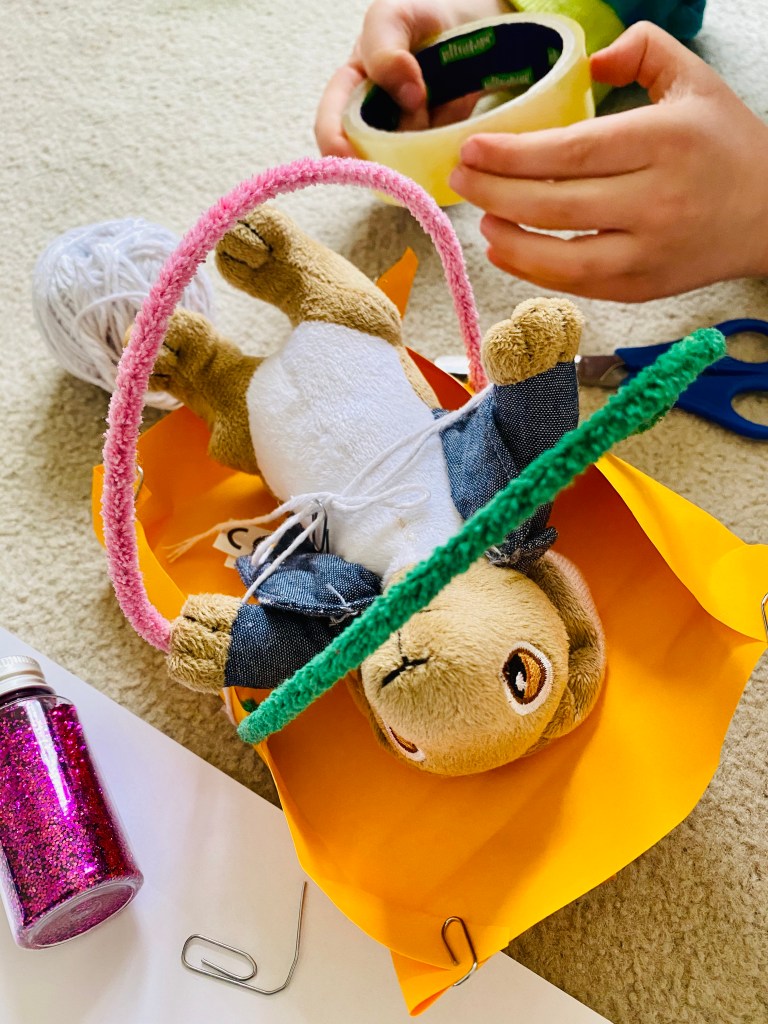
Family STEM Challenge
Easter-themed zip-line competition
You will need:
- Any/all of the following:
- Paper
- Pens/crayons/paint
- Scissors
- Sellotape
- Glue
- String
- Paperclips
- Pipe-cleaners
- Glitter
- Small bunny/chick/egg

Instructions
Challenge all participants to create and build a module that will house an Easter-themed item (could be any small toy) on a journey down a zip-line. You could race them, create different zip-lines, test different toys or anything you want.
I really hope you enjoy this challenge – we all had such great fun and ended up creating very different modules. It was a great chance to observe and discuss different designs and why some could be better than others and then test our theories.


Happy Learning! xx

What a relief to find a blog with crafts that are actually doable during lockdown and don’t require an insane amount of time, skill or materials. Thank you!
LikeLiked by 1 person
Thank you so much for your kind words! It mean so much to me. And inspires me to keep going during these crazy times. Would you mind if I shared your comment?
LikeLike